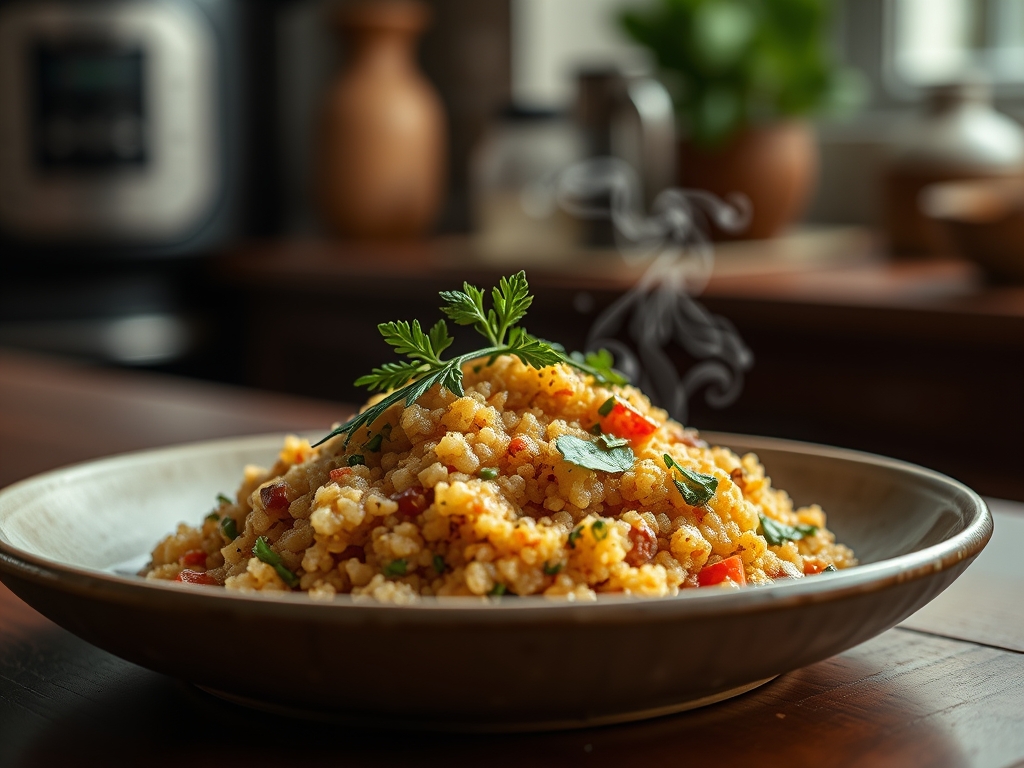
Listen up, kitchen architects. We are not just boiling seeds today; we are engineering a structural masterpiece of cellular expansion. If you have been settling for mushy, waterlogged grains that resemble a sad porridge, your culinary permit is officially under review. The goal is simple: total structural integrity. We want individual pearls that pop against the palate, boasting a distinct "tail" and a fluffy, aerated texture that defies the laws of gravity. This is the era of the Instant Pot Quinoa, a high-pressure environment where thermodynamic efficiency meets botanical brilliance. We are leveraging atmospheric pressure to force hydration into the very core of the seed in record time, bypassing the sluggishness of the stovetop. Forget watching a pot boil like a Victorian romantic. We are here for rapid deployment, consistent results, and a yield that scales with the precision of a Swiss timepiece. Strap in, calibrate your sensors, and prepare to witness the most efficient grain-to-fluff ratio in the known universe.
THE DATA MATRIX
| Metric | Specification |
|---|---|
| Prep Time | 2 Minutes |
| Execution Time | 1 Minute (High Pressure) |
| Yield | 3:1 Expansion Ratio |
| Complexity (1-10) | 2 |
| Estimated Cost per Serving | $0.45 USD |
THE GATHERS
Ingredient Protocol:
- 200g / 1 cup Pre-rinsed White or Tri-color Quinoa
- 240ml / 1 cup + 1 tbsp Filtered Water or Bone Broth
- 5ml / 1 tsp Extra Virgin Olive Oil or Ghee
- 2g / 0.5 tsp Fine Sea Salt
Section A: Ingredient Quality Audit:
The primary failure point in grain infrastructure is the saponin coating. Saponins are the plant's natural defense mechanism; they are bitter, soapy, and will ruin your flavor profile if not eradicated. If your raw material smells like dusty cardboard, it requires a vigorous mechanical intervention. Place your seeds in a fine-mesh sieve and agitate under cold running water for 60 seconds. Another common audit failure is "stale" grain. Quinoa contains natural oils that can go rancid. If your dry stock has a sharp, metallic odor, discard it. For a technical fix to enhance the flavor of lackluster seeds, utilize a Maillard reaction by dry-toasting the grains in the pot for two minutes before adding liquid. This creates nutty, complex aromatic compounds that mask minor quality deficits.
THE MASTERCLASS
1. The Calibration Phase
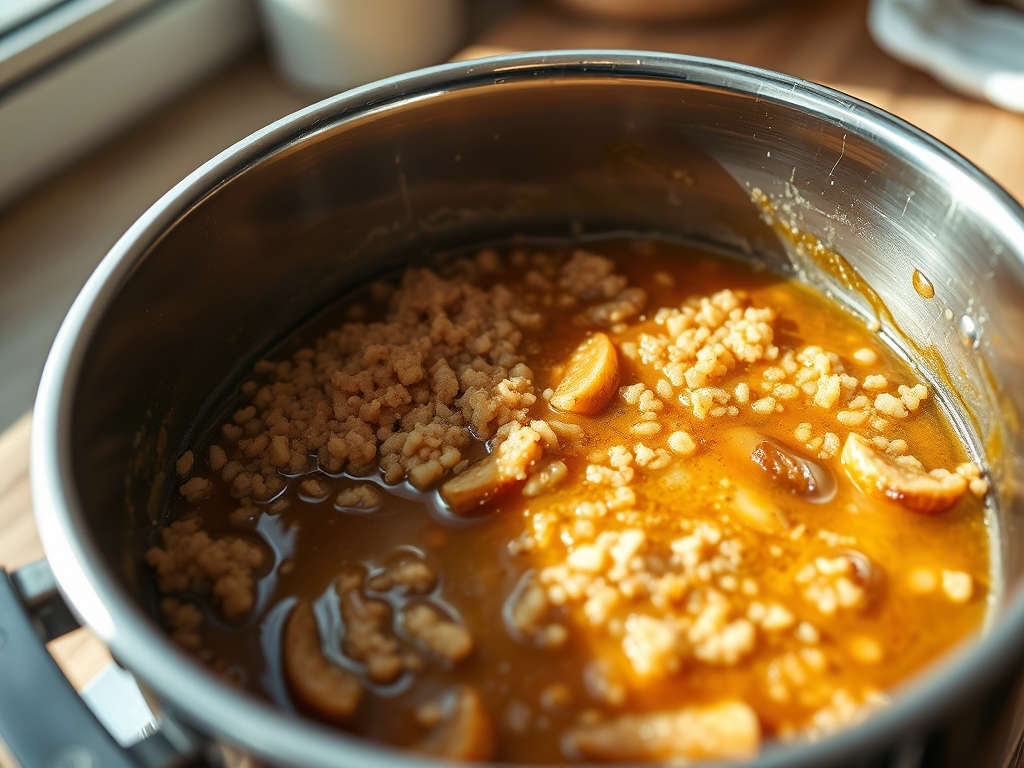
Before a single drop of liquid enters the vessel, ensure your Instant Pot liner is pristine. Use a digital scale to measure your quinoa and liquid by weight rather than volume; volume is a liar influenced by air pockets and packing density. Add your rinsed grains and the measured liquid to the inner pot.
Pro Tip: Accurate measurement prevents the "burn" notice. The science of pressure cooking relies on a specific ratio of liquid to create steam. Deviating by even 20ml can disrupt the internal atmospheric pressure required to infuse the seed with moisture.
2. The Pressure Injection
Secure the lid and ensure the steam release valve is set to the sealing position. Program the unit for 1 minute at High Pressure. Yes, sixty seconds. The real work happens during the ramp-up and the subsequent cooling phase.
Pro Tip: Using a saucier or a separate kettle to pre-heat your liquid to a boil before adding it to the pot can shave minutes off the pressurization time. This minimizes the time the grain spends in a lukewarm, soaking state, which helps maintain the structural "pop."
3. The Controlled Descent
Once the timer expires, do not touch that valve. Allow for a 10-minute Natural Pressure Release (NPR). This allows the residual steam to gently finish the hydration process without the violent agitation of a quick release, which would rupture the delicate hulls.
Pro Tip: This stage is where the viscous starches stabilize. If you vent the steam immediately, the sudden drop in pressure causes the internal moisture to flash-boil out of the grain, leaving you with a texture that is simultaneously dry and blown-out.
4. The Aeration Ritual
Remove the lid and use a bench scraper or a wide fork to gently lift and separate the grains. Do not stir vigorously; you want to aerate the mass to allow excess steam to escape, preventing the grains from overcooking in their own residual heat.
Pro Tip: Transferring the finished product to a wide, flat sheet pan (an industry-standard half-sheet) allows for rapid cooling. This stops the thermal carry-over and ensures each grain remains an individual unit rather than a congealed mass.
Section B: Prep & Timing Fault-Lines:
Human error is the greatest threat to your Instant Pot Quinoa. The most frequent "fault-line" is the "Lid-Off Delay." If you leave the lid on for 20 minutes instead of 10, the grains will continue to absorb ambient steam and turn into a mushy paste. Set an external timer. Another timing error occurs during the rinsing phase; if you leave the quinoa soaking in water for too long before cooking, the outer shell softens prematurely, leading to a lack of "bite" in the final result. Precision is your only defense against mediocrity.
THE VISUAL SPECTRUM
Section C: Thermal & Visual Troubleshooting:
Referencing the Masterclass photo above, observe the "germ coil." In a perfectly executed batch, the tiny white spiral (the germ) should be visible and detached slightly from the translucent grain body. If your grains look opaque and white, they are undercooked; increase your resting time by two minutes. If the color is dull and the grains appear "shredded," you likely used too much liquid or over-agitated the pot during the fluffing stage. If you notice uneven browning on the bottom, your deglaze was insufficient after the optional toasting phase. Ensure no dry particles are stuck to the base before sealing the lid to maintain a clean thermal transfer.
THE DEEP DIVE
Macro Nutrition Profile:
Quinoa is a nutritional powerhouse, functioning as a complete protein containing all nine essential amino acids. A standard 185g serving (cooked) delivers approximately 8g of protein, 5g of fiber, and a significant dose of magnesium and manganese. Its low glycemic index makes it a superior fuel source for sustained cognitive and physical output.
Dietary Swaps:
- Vegan: Use vegetable bouillon or mushroom dashi to infuse deep umami.
- Keto: While quinoa is not keto-friendly, you can mimic the "fluff" using riced cauliflower, though the pressure settings must be reduced to zero minutes with an immediate release.
- GF: Quinoa is naturally gluten-free, but always audit your sourcing for cross-contamination in processing facilities.
Meal Prep & Reheating Science:
To maintain the molecular structure during storage, cool the quinoa to room temperature within 30 minutes. Store in an airtight container for up to five days. When reheating, add 15ml of water per cup of grain and cover; this creates a localized steam environment that re-hydrates the starch molecules without making them viscous or gummy.
THE KITCHEN TABLE
Why is my quinoa still crunchy?
Your altitude might be the culprit, or your lid seal is compromised. High-altitude cooking requires a 5% increase in cook time for every 1,000 feet above sea level to compensate for lower atmospheric pressure.
Can I double the recipe easily?
Yes. The beauty of pressure cooking is that the time remains the same even if you double the volume. Just ensure you do not exceed the "half-full" line for expanding grains to avoid clogging the steam valves.
My quinoa is bitter even after rinsing!
Switch to a "triple-washed" brand or increase your rinse time. You can also render a small amount of butter or oil in the pot before cooking to coat the grains, which helps mask any residual bitterness.
How do I get that "restaurant" flavor?
Stop using plain water. Use a high-quality stock, add a bay leaf, or infuse the liquid with smashed garlic and lemon zest. A splash of piquant apple cider vinegar after cooking will also brighten the entire profile.