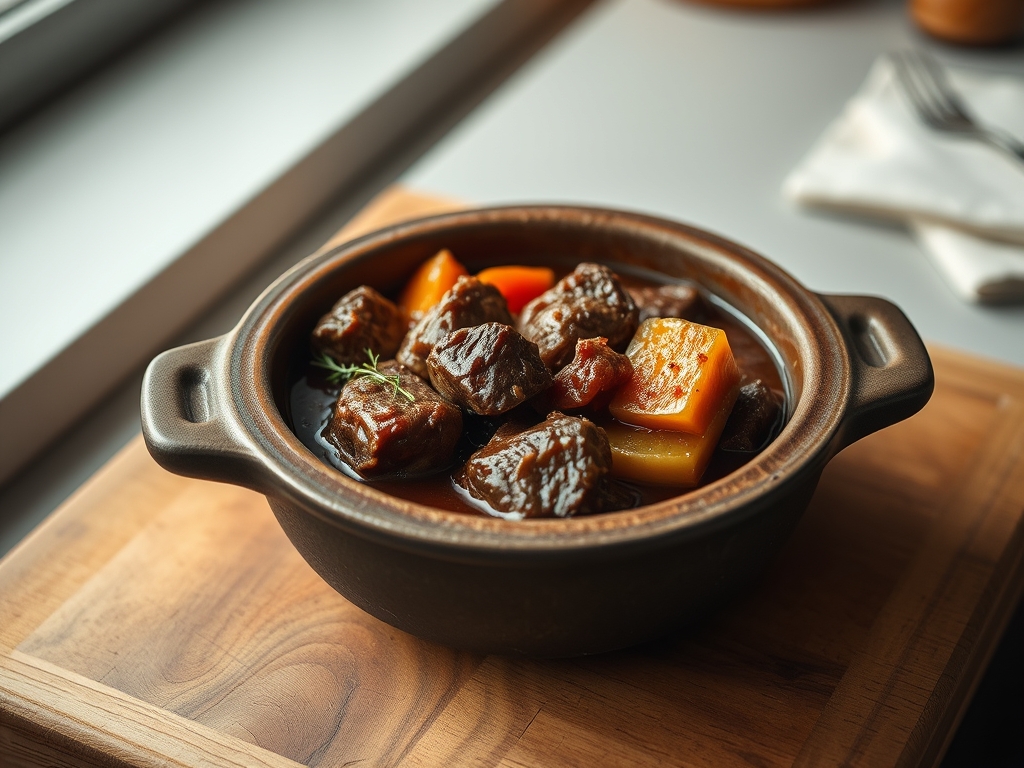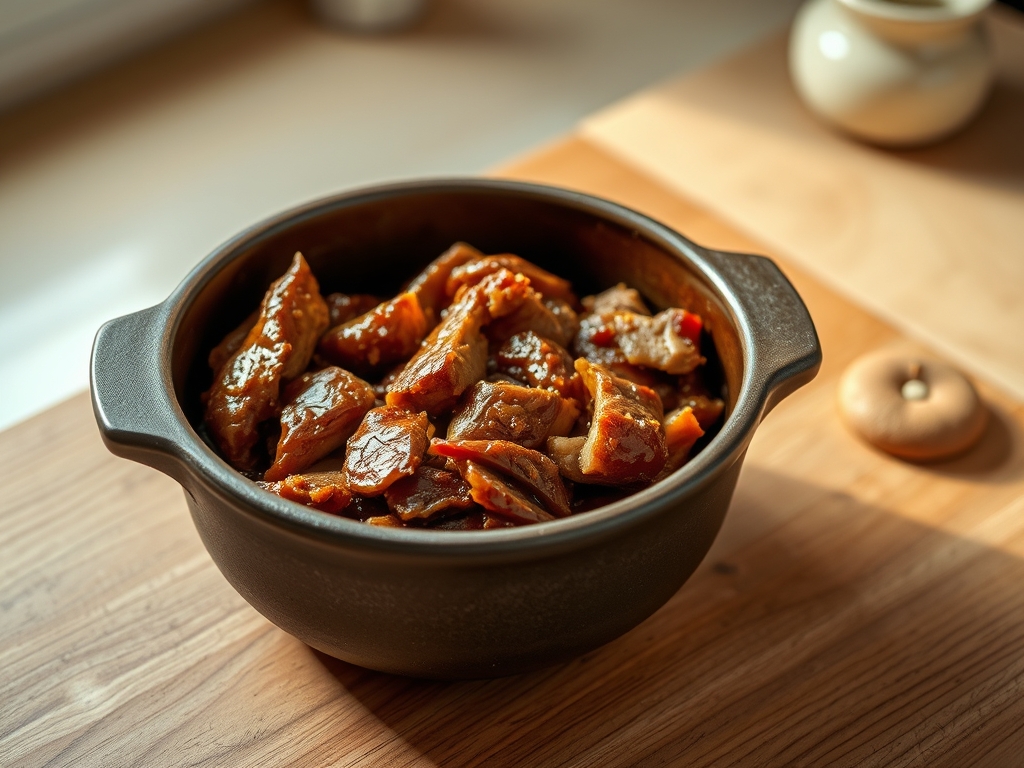
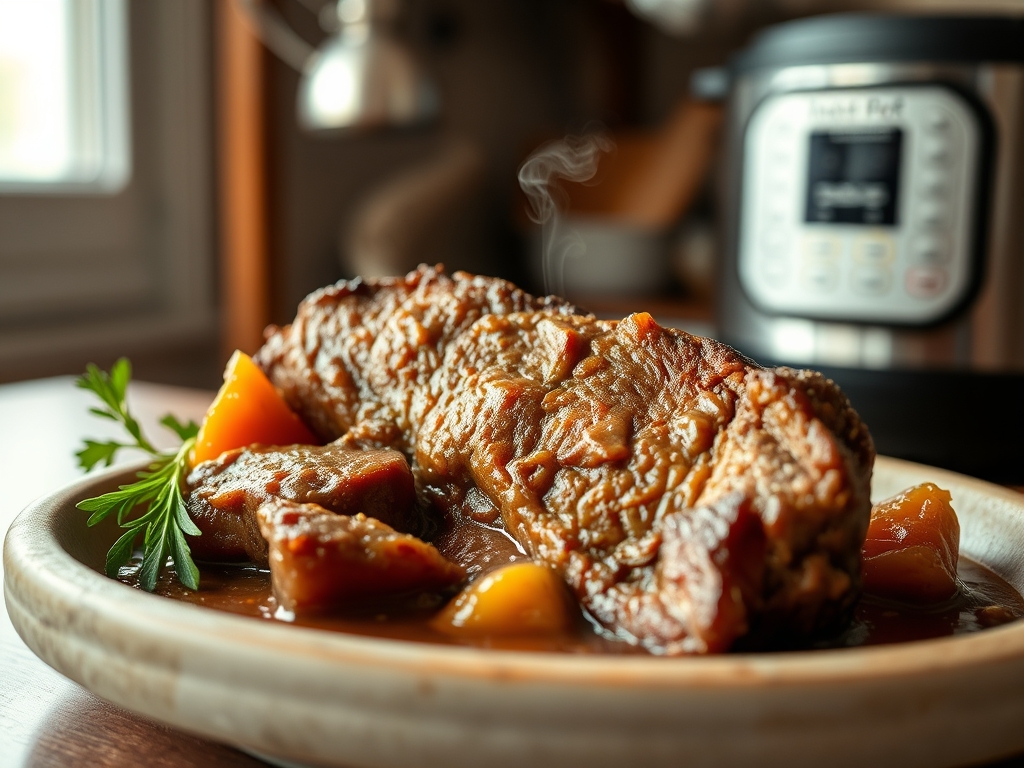
Listen closely because we are about to bypass the archaic, six-hour slow cooker drag and enter the realm of high-velocity culinary engineering. We are talking about the Instant Pot Beef Roast; a marvel of modern thermodynamics that transforms a stubborn, connective-tissue-heavy chuck eye into a succulent, fork-tender masterpiece in a fraction of the standard temporal investment. Imagine the scent of caramelized aromatics and deep, bovine richness hitting your olfactory sensors the moment the steam release valve screams its final note. We are not just cooking; we are manipulating atmospheric pressure to force hydration into the very fibers of the protein. The Maillard reaction is our primary objective during the initial sear, followed by a controlled thermal saturation that liquefies collagen into a rich, lip-smacking gelatin. This is where high-tech utility meets the primal urge for a Sunday feast. If you have ever suffered through a dry, stringy pot roast, consider this your formal invitation to a systemic upgrade. We are auditing the process, optimizing the variables, and ensuring total flavor saturation.
THE DATA MATRIX
| Metric | Specification |
|---|---|
| Prep Time | 20 Minutes |
| Execution Time | 90 Minutes |
| Yield | 6 to 8 Servings |
| Complexity (1-10) | 4 |
| Estimated Cost per Serving | $4.50 USD |
THE GATHERS
Ingredient Protocol:
- 1.4 kg / 3 lbs Beef Chuck Roast (High Marbling)
- 30 ml / 2 tbsp High-Smoke Point Oil (Avocado or Grapeseed)
- 15 g / 1 tbsp Kosher Salt
- 5 g / 1 tsp Coarsely Cracked Black Pepper
- 500 ml / 2 cups Beef Bone Broth (Low Sodium)
- 120 ml / 0.5 cup Dry Red Wine (Cabernet or Merlot)
- 30 ml / 2 tbsp Worcestershire Sauce
- 450 g / 1 lb Yukon Gold Potatoes (Halved)
- 300 g / 3 Large Carrots (Oblique Cut)
- 1 Large Yellow Onion (Quartered)
- 4 Cloves Fresh Garlic (Crushed)
- 2 Sprigs Fresh Rosemary
- 3 Sprigs Fresh Thyme
- 15 g / 2 tbsp Cornstarch (for the final slurry)
Section A: Ingredient Quality Audit:
Sub-par raw materials are the primary failure point in any high-pressure environment. If your beef lacks intramuscular fat, the result will be fibrous and lean rather than unctuous. Technical fix: Look for "Choice" or "Prime" grades with visible white flecks. If the vegetables appear desiccated or soft, they will disintegrate under 11.6 PSI. Technical fix: Use waxy potatoes like Yukon Gold rather than starchy Russets; the latter possess a cellular structure that collapses too easily. If your broth tastes like a salt lick, it will concentrate into an inedible brine. Technical fix: Always utilize low-sodium bone broth to maintain control over the final salinity profile.
THE MASTERCLASS
1. The Surface Dehydration and Seasoning Phase
Begin by patting the beef bone-dry with lint-free towels. Moisture is the enemy of the Maillard reaction. Generously apply your salt and pepper to all surfaces. Use a digital scale to ensure your salt ratio is exactly 1 percent of the meat's total weight for optimal seasoning penetration.
Pro Tip: Dehydrating the surface allows the protein to reach the 300 degree Fahrenheit threshold required for browning almost instantly. This prevents the interior from overcooking while you hunt for that deep, mahogany crust.
2. The High-Velocity Sear
Set your vessel to the highest "Sauté" function. Add the oil and wait for the first wisps of blue smoke. Sear the beef for 5 to 6 minutes per side. Do not crowd the pot; we need maximum heat retention to render the external fat caps effectively.
Pro Tip: Use a heavy-duty set of stainless steel tongs to press the meat into the base of the pot. This increases surface area contact, ensuring a more uniform crust and a higher concentration of fond for the later stages.
3. The Deglaze and Aromatics Integration
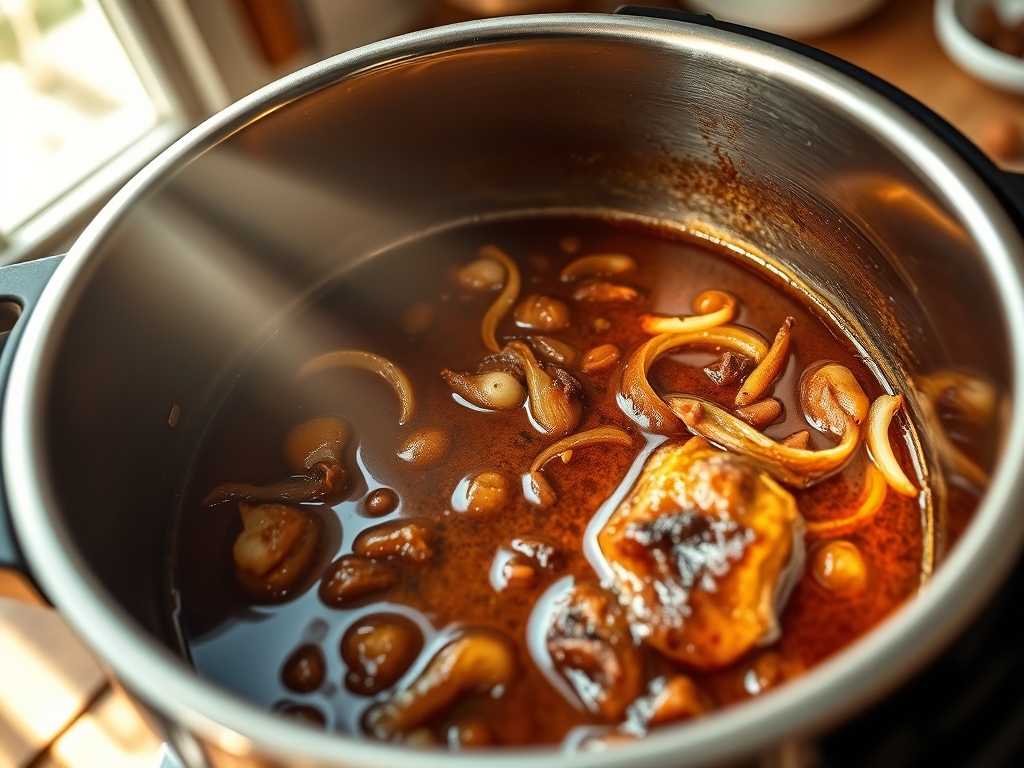
Remove the meat and set it aside on a bench scraper cleaned surface or a resting tray. Pour in the red wine and use a wooden spatula to scrape up every brown bit (the fond). Add the onions and garlic, sautéing until translucent. This is where we infuse the base liquid with complex sugars.
Pro Tip: The wine acts as a solvent. The alcohol dissolves flavor compounds that are not water-soluble, creating a more viscous and complex sauce profile that water or broth alone cannot achieve.
4. Pressure Saturation
Return the beef to the pot. Add the broth, Worcestershire, and herbs. Lock the lid and set to High Pressure for 60 minutes. Once the timer expires, allow a natural pressure release for at least 20 minutes to prevent the muscle fibers from seizing and ejecting their internal moisture.
Pro Tip: A rapid pressure release causes the liquid inside the meat to boil violently, which can turn a tender roast into a dry sponge. Patience here preserves the molecular integrity of the protein.
5. The Root Vegetable Finish
After the natural release, remove the lid and add your potatoes and carrots. Lock the lid again and cycle for an additional 4 minutes at High Pressure. Perform a quick release this time to ensure the vegetables remain "al dente" rather than a textural mush.
Pro Tip: Cooking vegetables separately or at the very end prevents them from absorbing too much fat, which can lead to a heavy, greasy mouthfeel.
6. The Gravy Emulsification
Remove the meat and vegetables. Switch back to "Sauté." Whisk your cornstarch with a small amount of cold water to create a slurry. Stream this into the bubbling liquid while whisking constantly with a saucier-friendly silicone whisk until the sauce is glossy and coats the back of a spoon.
Pro Tip: This is a mechanical emulsification. The starch granules swell and trap water molecules, thickening the liquid into a piquant gravy that clings to the beef fibers.
Section B: Prep & Timing Fault-Lines:
Timing errors usually occur during the pressure release phase. If you are in a rush and flip the valve too early, you risk "venting" the flavor. Another common fault-line is the temperature of the liquid. Adding ice-cold broth to a hot pot can shock the metal and slow down the "time to pressure" metric. Technical fix: Pre-warm your broth in a microwave or small pot to accelerate the cycle.
THE VISUAL SPECTRUM
Section C: Thermal & Visual Troubleshooting:
Observe the Masterclass photo. The beef should exhibit a deep, dark exterior with a glistening, moist interior that pulls apart with minimal resistance. If your roast looks grey and "boiled," your initial sear was insufficient. Technical fix: Increase sear time and ensure the pot is not overcrowded. If the carrots look dull or translucent, they are overcooked. Technical fix: Reduce the vegetable cycle by 60 seconds. If the gravy looks broken or oily, the emulsion has failed. Technical fix: Use a whisk to vigorously aerate the sauce while adding a splash of cold water to re-stabilize the fat-to-liquid ratio.
THE DEEP DIVE
Macro Nutrition Profile:
A standard serving (approx. 200g of beef plus vegetables) delivers roughly 450 calories. You are looking at 35g of protein, 22g of fat, and 28g of carbohydrates. It is a powerhouse of iron, B12, and zinc, making it an ideal recovery meal for high-output individuals.
Dietary Swaps:
- Keto: Eliminate the potatoes and cornstarch. Substitute with cauliflower florets (added at the end) and thicken the sauce by reducing it by half or whisking in a tablespoon of cold butter (monter au beurre).
- Vegan: This specific protocol is beef-centric, but the technique applies to "Pot Roast" style Celeriac or King Oyster Mushrooms. Use vegetable umami broth and soy sauce.
- GF: Ensure your Worcestershire sauce is certified gluten-free and swap cornstarch for arrowroot powder.
Meal Prep & Reheating Science:
To maintain molecular structure during reheating, avoid the microwave's high-frequency agitation which can rubberize the proteins. Instead, reheat gently in a covered pan with a splash of broth. This creates a mini-steam chamber that restores the viscous nature of the gelatin without overcooking the meat.
THE KITCHEN TABLE
Why is my beef still tough after 60 minutes?
It likely needs more time to break down the collagen. If it resists the fork, lock the lid and add 10 more minutes. Large, dense roasts sometimes require a longer saturation window to reach the desired tenderness.
Can I skip the wine?
Yes, but you lose acidity and depth. Substitute with an equal amount of beef broth plus a tablespoon of balsamic vinegar to provide that necessary piquant lift that cuts through the heavy fats of the chuck roast.
Why did I get a "Burn" notice?
This happens when the fond (brown bits) is not fully scraped up during the deglazing phase. Those sugars carbonize on the bottom, triggering the thermal sensors. Always deglaze thoroughly with a flat-edged wooden spatula before pressurized cooking.
Do I have to sear the meat?
Technically no, but you should. Searing creates hundreds of new flavor compounds through the Maillard reaction. Skipping this step results in a bland, "gray" flavor profile that lacks the professional depth of a high-end audit.