Forget everything you know about the flimsy, sugar-choked plastic cups lining the supermarket aisles. We are entering the realm of the microbial architect. When you initiate the process for Instant Pot Yogurt, you are not merely cooking; you are conducting a high-stakes symphony of thermophilic bacteria within a pressurized, stainless steel containment vessel. The goal is a texture so viscous and a profile so piquant that it renders commercial alternatives obsolete. This is about total control over the fermentation curve. We are looking for that specific, silk-like sheen and a structural integrity that holds its peak against a silver spoon. The air in your kitchen should shift, carrying the clean, lactic tang of a successful incubation. By leveraging the consistent thermal environment of the multicooker, we eliminate the variables that haunt traditional stovetop methods. We are optimizing for protein denaturation and subsequent mesh-network formation. This is the ultimate infrastructure project for your gut microbiome. Prepare for a sensory overhaul where the result is a shimmering, ivory landscape of pure, unadulterated dairy excellence.
THE DATA MATRIX
| Metric | Specification |
|---|---|
| Prep Time | 10 Minutes |
| Execution Time | 8 to 12 Hours (Incubation) |
| Yield | 1.9 Liters / 2 Quarts |
| Complexity (1-10) | 3 |
| Estimated Cost per Serving | $0.45 USD |
THE GATHERS
Ingredient Protocol:
- 1.89 Liters / 0.5 Gallon: Whole Milk (Pasteurized, not Ultra-Pasteurized).
- 30ml / 2 Tablespoons: Plain Yogurt with Live Active Cultures (The Starter).
- 15ml / 1 Tablespoon: Pure Vanilla Extract (Optional for aromatic infusion).
- 45ml / 3 Tablespoons: Honey or Agave (Optional for sweetness).
Section A: Ingredient Quality Audit:
The most frequent point of failure in the dairy pipeline is the milk selection. If you utilize Ultra-High Temperature (UHT) milk, the proteins have already been shattered by extreme heat; this results in a structural collapse where the yogurt fails to set, leaving you with a thin, sad liquid. Technical Fix: Always source standard pasteurized milk. If your yogurt is consistently runny, audit your starter culture. Using a "dead" starter with no live active cultures is like trying to start a fire with wet matches. Ensure your starter is fresh and contains Lactobacillus bulgaricus and Streptococcus thermophilus. If the final product tastes metallic, check your inner pot for reactive oxidation; always use a high-grade stainless steel insert to maintain flavor purity.
THE MASTERCLASS
Step 1: The Scalding Phase
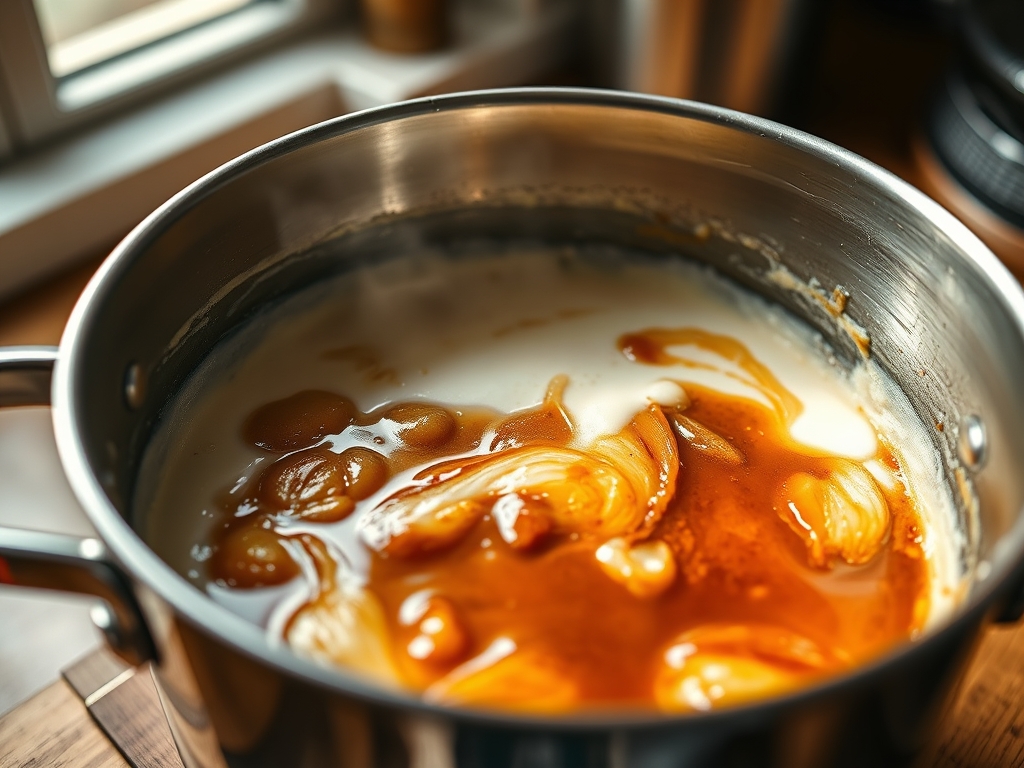
Pour your milk into the stainless steel inner pot. Select the "Yogurt" function and adjust to "More" or "Boil." Use a digital scale to ensure precise volume if you are scaling the recipe. The goal is to reach 82 degrees Celsius (180 degrees Fahrenheit). This temperature is critical to render the whey proteins (specifically lactoglobulin) denatured, which allows them to bond with casein to create a thick matrix.
Pro Tip: Use a silicone whisk to gently stir the milk during the heating cycle. This prevents the proteins from scorching on the bottom of the pot, which would introduce an acrid, burnt note to your delicate ferment.
Step 2: The Thermal Descent
Once the boil cycle completes, remove the inner pot and place it in an ice bath or let it sit on a wire rack. You must cool the milk to between 43 and 46 degrees Celsius (110 to 115 degrees Fahrenheit). If you add your starter while the milk is too hot, you will incinerate the bacteria instantly.
Pro Tip: Use a calibrated digital instant-read thermometer to monitor the descent. Precision here is the difference between a thriving microbial colony and a sterile, warm bucket of milk.
Step 3: Inoculation and Integration
In a small saucier or mixing bowl, whisk together your 30ml of starter culture with a small amount of the warm milk until it is a smooth, viscous slurry. Gently fold this mixture back into the main pot. Do not over-agitate; you want to infuse the cultures evenly without introducing excessive air.
Pro Tip: Avoid vigorous whisking at this stage. You want to maintain the integrity of the milk fats. A gentle, circular motion with a bench scraper or a large spoon is sufficient to distribute the microbes.
Step 4: The Incubation Lockdown
Secure the lid on the Instant Pot. Set the "Yogurt" function to "Normal" and adjust the timer for 8 to 12 hours. The longer the incubation, the more piquant and tart the flavor profile becomes as the bacteria consume the lactose and convert it into lactic acid.
Pro Tip: Ensure the steam release valve is set to "Venting" or simply use a glass lid. Pressure is not required for fermentation; only a stable, warm environment is necessary to facilitate microbial growth.
Step 5: The Final Set
Once the timer expires, do not stir the yogurt. The structure is fragile at this stage. Remove the inner pot, cover it with plastic wrap, and refrigerate for at least 6 hours. This cold crash allows the protein network to fully solidify.
Pro Tip: For a "Greek-style" finish, pass the chilled yogurt through a fine-mesh strainer lined with cheesecloth. This removes the liquid whey and concentrates the solids for a decadent, ultra-thick mouthfeel.
Section B: Prep & Timing Fault-Lines:
Timing is the silent killer of quality. If you leave the yogurt in the "Boil" phase too long, you risk a "skin" forming on top, which creates lumps in the final product. Technical Fix: If a skin forms, do not stir it back in; lift it off and discard it. If your incubation environment fluctuates in temperature because the pot was placed near a cold window or a drafty vent, the fermentation will be sluggish and uneven. Maintain a stable ambient environment. If you miss the cooling window and the milk drops below 38 degrees Celsius (100 degrees Fahrenheit), briefly pulse the "Saute" function for 10 seconds to bring it back into the "Goldilocks" zone for the bacteria.
THE VISUAL SPECTRUM
Section C: Thermal & Visual Troubleshooting:
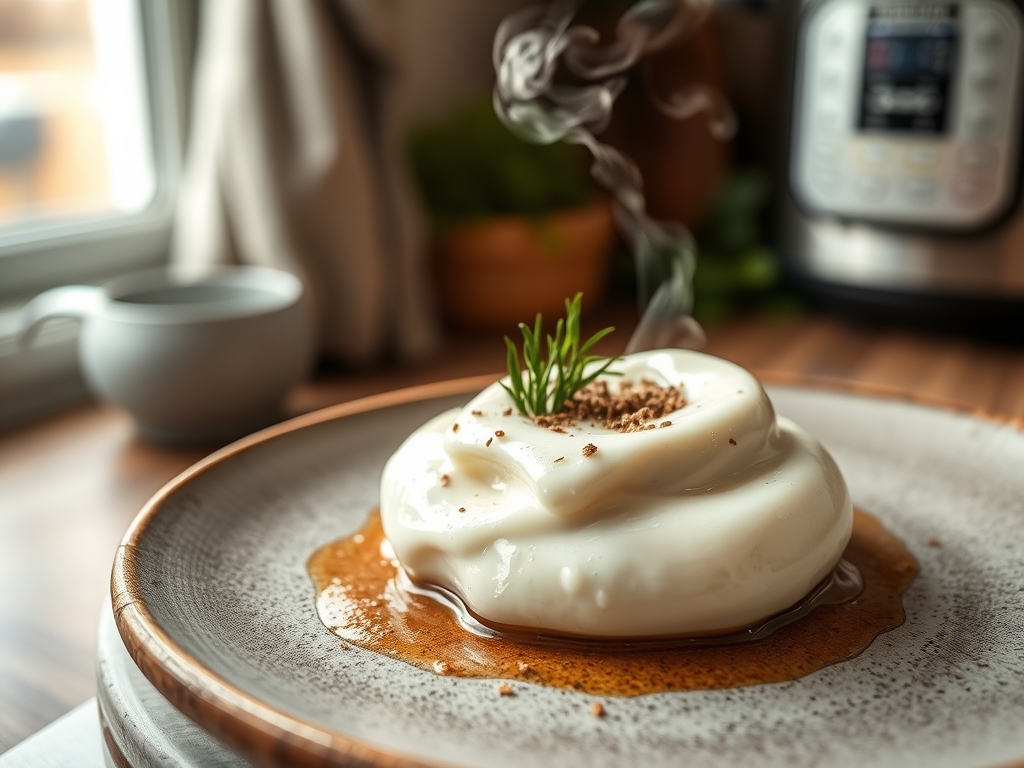
Observe the Masterclass photo above. Notice the uniform, porcelain-like surface. If your yogurt appears "chunky" or resembles cottage cheese, you likely moved the pot during incubation, disrupting the delicate protein lattice. If there is a yellowish liquid on top, that is simply whey; you can stir it back in to aerate the mixture or strain it off for a thicker result. A dull, matte finish instead of a glossy sheen suggests the milk was not heated high enough during the scalding phase to properly denature the proteins. If you see any pink or fuzzy discoloration, discard the batch immediately; this indicates a breach in your sterile field and the presence of unwanted mold or wild yeast.
THE DEEP DIVE
Macro Nutrition Profile:
A standard 250ml serving of whole milk yogurt provides approximately 150 calories, 8g of protein, 8g of fat, and 12g of carbohydrates. By controlling the fermentation time, you can actually reduce the carbohydrate count, as the bacteria consume the naturally occurring lactose sugars.
Dietary Swaps:
- Vegan: Use full-fat canned coconut milk and a vegan-specific probiotic starter. Note that plant proteins require a thickening agent like agar-agar to mimic the dairy matrix.
- Keto: Opt for a mixture of heavy cream and whole milk (50/50 ratio) to skyrocket the healthy fat content while keeping carbs at a minimum.
- GF: Naturally gluten-free, but ensure your starter culture is not processed in a facility with wheat.
Meal Prep & Reheating Science:
Yogurt is a living bio-structure. Never "reheat" it in a microwave if you wish to preserve the probiotic benefits; extreme heat kills the beneficial bacteria. For meal prep, store in glass airtight containers. The molecular structure remains stable for up to 10 days. If syneresis (whey separation) occurs over time, a quick stir will re-emulsify the liquid back into the solids.
THE KITCHEN TABLE
Why is my yogurt thin like a drink?
You likely used Ultra-Pasteurized milk or your starter was inactive. Ensure you hit the 82C scald mark to prep the proteins. If it remains thin, strain it through a coffee filter to manually increase the viscosity.
Can I use frozen yogurt starter?
Yes, but thaw it completely in the refrigerator first. Never microwave the starter to thaw it, as the localized heat pockets will terminate the bacteria before they even hit the milk.
How do I make it extra tart?
Extend the incubation time to 12 or 14 hours. The bacteria will continue to convert lactose into lactic acid, deepening the flavor profile and increasing the piquant "bite" of the finished product.
Why does my yogurt smell like yeast?
This indicates cross-contamination. Ensure your sealing ring is clean; often, the silicone ring retains odors from savory stews. Use a dedicated "sweet" ring for yogurt production to keep the flavor profile pristine.