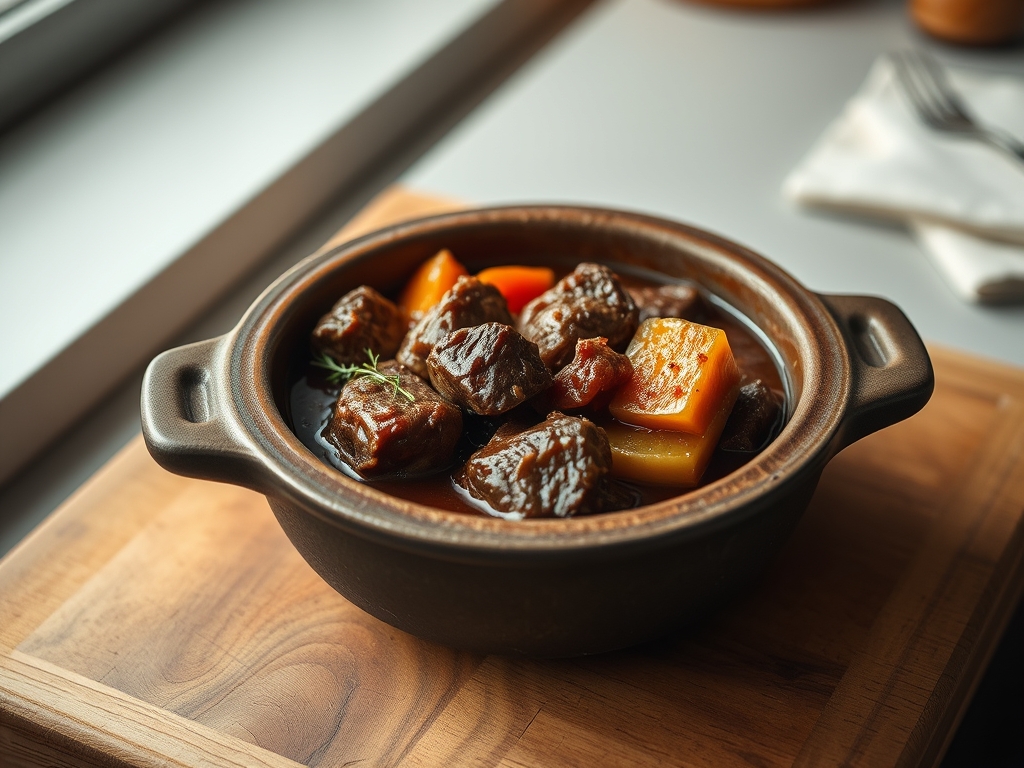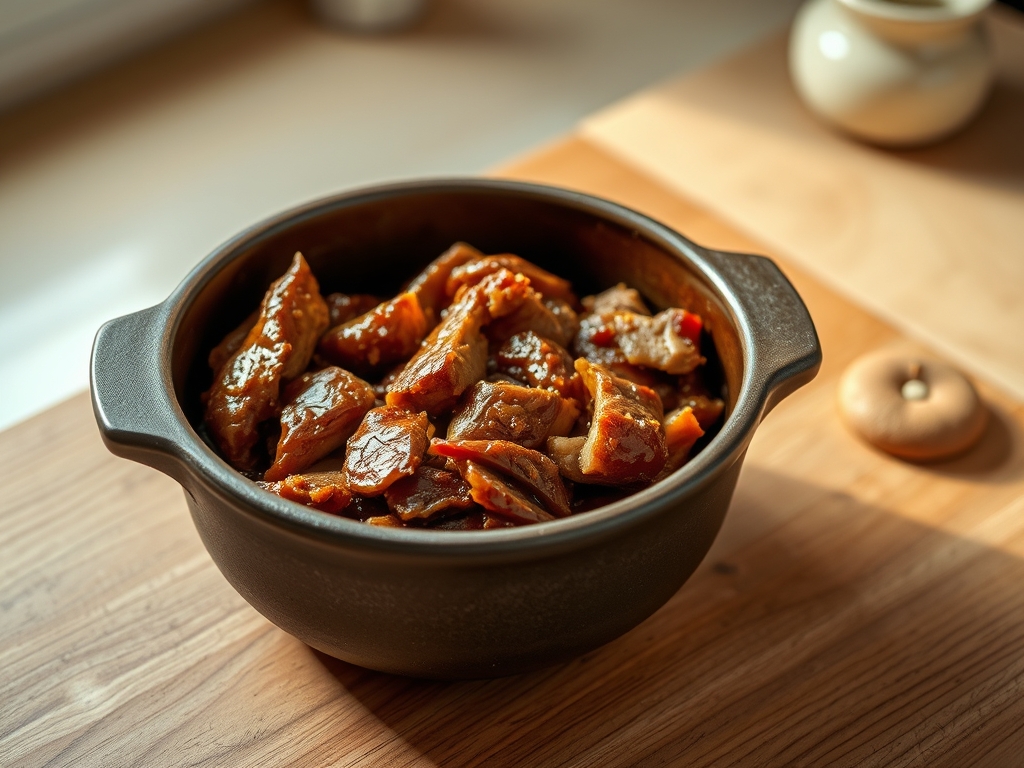
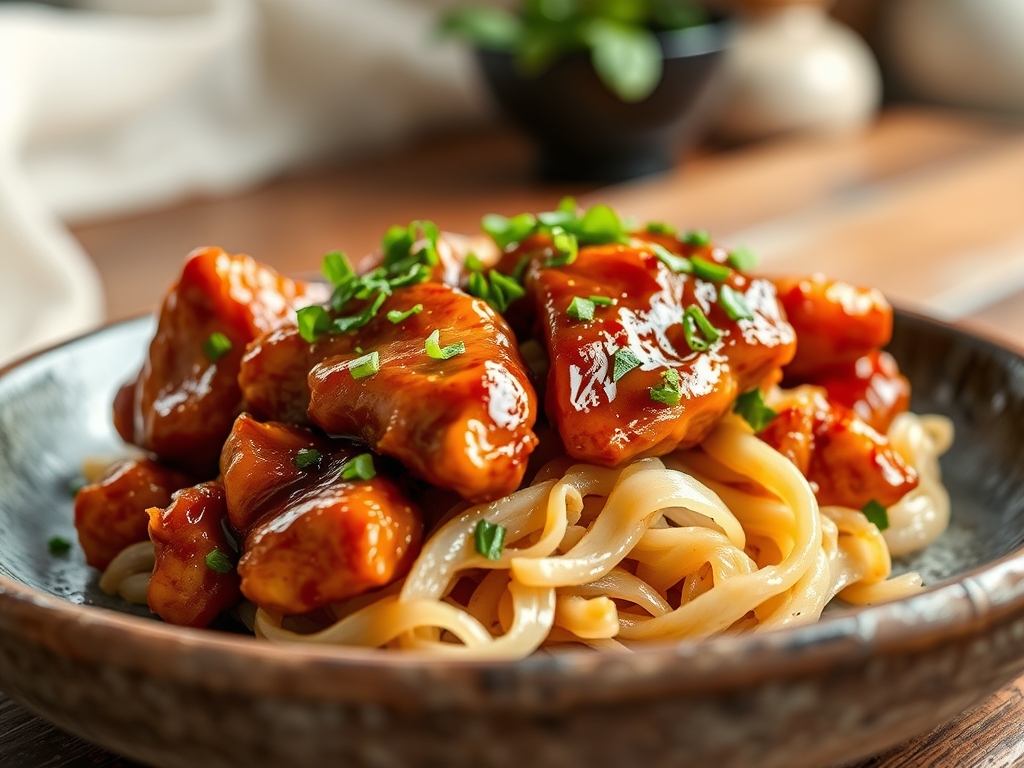
Listen up, kitchen operatives. We are moving beyond the realm of soggy, uninspired poultry. If your current rotation involves a colorless bird swimming in a thin, saline puddle, your culinary infrastructure is failing. We are here to execute a total system override. The objective is Multi Cooker Teriyaki Chicken that defies the standard limitations of pressure cooking. We are chasing a high-gloss, viscous lacquer that clings to the protein with the tenacity of a structural adhesive. This is not just dinner; it is an exercise in Maillard-driven excellence. We want a piquant balance of ginger-heat and fermented soy depth, delivered with the efficiency of a high-performance engine. The multi cooker is our pressurized reactor, and the goal is to render fat while forcing aromatics deep into the muscle fiber in a fraction of the traditional time. We are looking for that specific, deep-mahogany sheen that signals a perfect sugar-to-protein bond. Prepare for a sensory audit where the crunch of a scallion meets the velvet glide of a master-level glaze.
THE DATA MATRIX
| Metric | Specification |
|---|---|
| Prep Time | 15 Minutes |
| Execution Time | 25 Minutes |
| Yield | 4 Standard Servings |
| Complexity | 3/10 |
| Estimated Cost per Serving | $3.25 USD |
THE GATHERS
Ingredient Protocol:
- Protein: 900g / 2 lbs Boneless skinless chicken thighs, trimmed.
- Base: 120ml / 0.5 cup Low-sodium soy sauce.
- Sweetener: 100g / 0.5 cup Light brown sugar, packed.
- Acid: 60ml / 0.25 cup Rice vinegar.
- Aromatics: 15g / 1 tbsp Fresh ginger, grated via microplane.
- Alliums: 3 cloves Garlic, minced.
- Lipid: 15ml / 1 tbsp Toasted sesame oil.
- Thickener: 15g / 2 tbsp Cornstarch dissolved in 30ml / 2 tbsp cold water (Slurry).
- Garnish: 5g / 1 tbsp Toasted sesame seeds and 2 stalks sliced green onions.
Section A: Ingredient Quality Audit:
If your ginger feels woody or lacks that sharp, citrus-forward bite, it has dehydrated beyond utility. Technical fix: increase the volume by 20 percent and steep it in the rice vinegar for five minutes before adding to the pot to re-activate the volatile oils. For soy sauce, avoid anything labeled "dark soy" as the primary base unless you want a bitter, over-caramelized profile. If your chicken thighs are releasing excessive water, they have likely been "plumped" with saline at the factory. Counteract this by searing the meat in the multi cooker's "Saute" mode before the pressure cycle to render out excess moisture and prevent the glaze from diluting into a watery mess.
THE MASTERCLASS
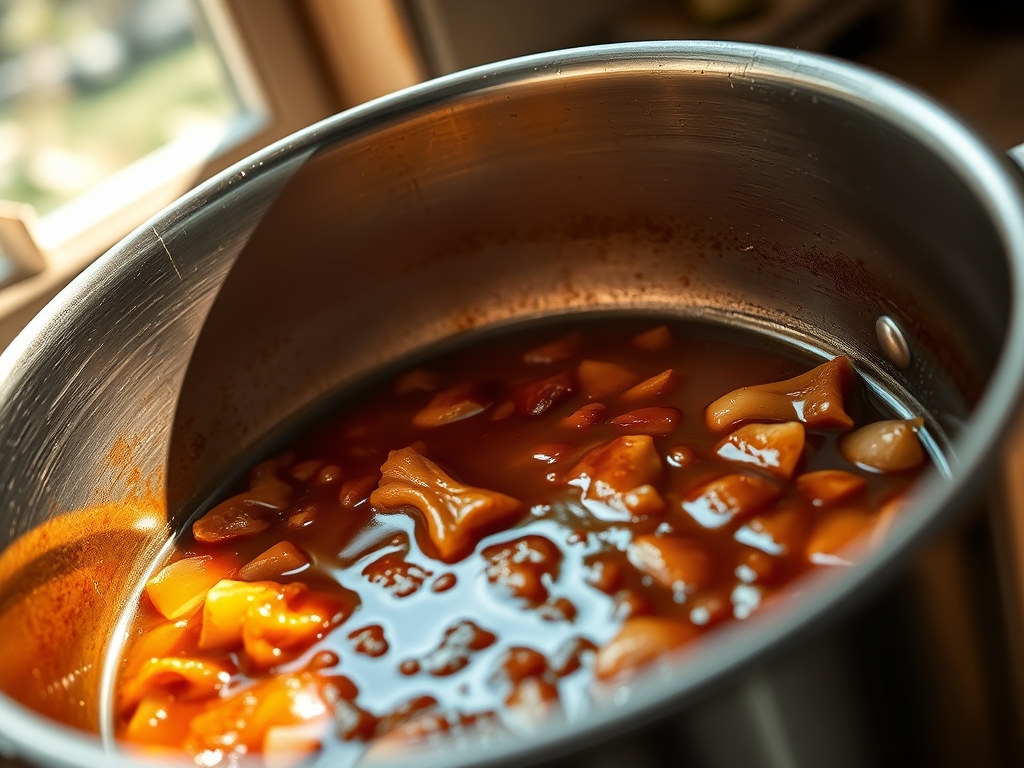
Step 1: The Aromatic Infusion
Activate the "Saute" function on your multi cooker. Add the sesame oil and once it begins to shimmer, introduce the garlic and ginger. Stir constantly with a high-heat silicone spatula for 45 seconds until fragrant but not browned.
Pro Tip: Use a digital scale to measure your ginger and garlic by weight rather than volume. This ensures consistent flavor potency across every batch and prevents the aromatics from overpowering the delicate balance of the rice vinegar.
Step 2: The Pressure Phase
Add the soy sauce, brown sugar, and rice vinegar to the pot. Stir to dissolve the sugar. Submerge the chicken thighs in the liquid. Lock the lid and set the valve to "Sealing." Program the unit for 10 minutes at High Pressure.
Pro Tip: To ensure even heat distribution, use a bench scraper to move the chicken into a single layer. Overlapping the meat can lead to uneven protein denaturation, resulting in some pieces being overcooked while others remain tough.
Step 3: Depressurization and Reduction
Once the timer expires, perform a quick pressure release. Carefully remove the lid and transfer the chicken to a clean cutting board using tongs. Switch the unit back to "Saute" mode to bring the liquid to a vigorous boil.
Pro Tip: Use a saucier whisk to stir the liquid as it reduces. This prevents the sugars from scorching at the bottom of the pot, which would introduce unwanted carbon notes to your final flavor profile.
Step 4: The Slurry Integration
Whisk your cornstarch and water in a small ramekin until no clumps remain. Slowly drizzle the slurry into the boiling sauce while whisking constantly. Continue to simmer for 2 to 3 minutes until the sauce coats the back of a spoon.
Pro Tip: Monitor the viscosity change closely. You are looking for a "nappe" consistency. If the sauce becomes too thick, deglaze the sides of the pot with a tablespoon of water or sake to maintain the ideal flow rate.
Step 5: The Final Glaze Application
Slice the chicken into uniform strips and return them to the pot. Toss gently to ensure every surface area is coated in the thickened sauce. Let the chicken rest in the sauce for two minutes to allow the heat to carry over and set the glaze.
Pro Tip: Use an instant-read thermometer to ensure the internal temperature of the chicken has reached 74C / 165F. This resting period allows the muscle fibers to relax and reabsorb some of the piquant liquid.
Section B: Prep & Timing Fault-Lines:
The most common failure in Multi Cooker Teriyaki Chicken is the "Burn Error." This occurs when the sugar content in the sauce caramelizes against the heating element before the pressure cycle is complete. To avoid this, ensure the sugar is fully dissolved in the soy sauce before locking the lid. If your unit is prone to scorching, add 60ml of water or chicken stock to thin the initial liquid; you will simply reduce it longer at the end. Another timing error is the "Natural Release Trap." Leaving the chicken in the pot for a natural release will result in "mushy" poultry. Use the quick release to stop the cooking process immediately.
THE VISUAL SPECTRUM
Section C: Thermal & Visual Troubleshooting:
Referencing the Masterclass photo, your final product should exhibit a "mirror finish." If your chicken looks dull or matte, you likely under-reduced the sauce or missed the slurry step. A dull appearance can also be fixed by a final drizzle of fresh sesame oil just before serving to add a high-gloss sheen. If the color is too pale, your soy-to-sugar ratio was likely skewed; add a teaspoon of molasses or a splash of dark soy sauce during the reduction phase to deepen the hue. If the chicken appears "shredded" rather than sliced, you overcooked the protein during the pressure cycle. Adjust your next run by decreasing the pressure time by two minutes.
THE DEEP DIVE
Macro Nutrition Profile:
A standard serving of this protocol provides approximately 320 calories, 35g of protein, 18g of carbohydrates, and 12g of fat. The high protein content makes it an ideal post-recovery meal, though the sodium levels are significant due to the fermented soy base.
Dietary Swaps:
- Vegan: Replace chicken with extra-firm pressed tofu or seitan chunks. Reduce pressure time to 3 minutes.
- Keto: Swap brown sugar for a monk fruit or erythritol-based sweetener and replace cornstarch with 0.5 tsp of xantham gum.
- GF: Ensure you are using Tamari or liquid aminos in place of standard soy sauce.
Meal Prep & Reheating Science:
When storing, keep the sauce and chicken together in an airtight container. Upon reheating, the starch molecules in the glaze will have undergone retrogradation, making the sauce appear gelatinous. Use a microwave at 70 percent power or a small skillet over low heat. Add a teaspoon of water to aerate and loosen the sauce, restoring its original viscous state without breaking the emulsion.
THE KITCHEN TABLE
Why is my sauce still watery after adding the slurry?
The cornstarch requires a full boil to activate its thickening properties. Ensure the multi cooker is on the highest "Saute" setting and the liquid is bubbling vigorously before you judge the final thickness.
Can I use chicken breasts instead of thighs?
Yes, but decrease the pressure time to 6 minutes. Breasts lack the fat and connective tissue of thighs, making them prone to drying out under high pressure if cooked for the full 10-minute cycle.
Is fresh ginger mandatory?
While ground ginger works in a pinch, it lacks the piquant zing of fresh aromatics. If using dry, use only 1 tsp and whisk it thoroughly into the liquid to avoid clumps.
My sauce is too salty. How do I fix it?
Do not add more salt. Balance the sodium by adding a squeeze of fresh lime juice or an extra tablespoon of brown sugar. The acidity or sweetness will counteract the perceived saltiness on the palate.