The sound of a successful sear is not just noise; it is the sonic frequency of the Maillard reaction performing its greatest hits. When you drop bone-in, skin-on poultry into a shimmering pool of fat, you are initiating a structural transformation that turns flaccid protein into a golden, glass-like armor. This is the ultimate goal of Multi Cooker Chicken Thighs. We are not merely boiling meat in a pressurized chamber. We are auditing the very infrastructure of heat transfer to ensure that even in a high-moisture environment, the skin remains a defiant, crispy triumph. Most home cooks treat the multi cooker as a "set it and forget it" bin of mediocrity. We are here to change that narrative. By mastering the sequence of high-heat sautéing followed by precision pressure regulation, you create a dish where the meat is succulent enough to pull apart with a whisper, yet the exterior retains its structural integrity. This is culinary engineering at its most piquant. Prepare to recalibrate your expectations of what a single countertop appliance can achieve.
THE DATA MATRIX
| Metric | Specification |
|---|---|
| Prep Time | 15 Minutes |
| Execution Time | 25 Minutes |
| Yield | 4 Servings |
| Complexity (1-10) | 4 |
| Estimated Cost per Serving | $3.50 |
THE GATHERS
Ingredient Protocol:
- 1.36 kg / 3 lbs Bone-in, skin-on chicken thighs.
- 15 ml / 1 tbsp Avocado oil (High smoke point is non-negotiable).
- 5 g / 1 tsp Fine sea salt.
- 2.5 g / 0.5 tsp Cracked black pepper.
- 5 g / 1 tsp Smoked paprika.
- 3 g / 0.5 tsp Garlic powder.
- 235 ml / 1 cup Low-sodium chicken bone broth.
- 30 ml / 2 tbsp Unsalted butter.
- 2 sprigs Fresh rosemary.
Section A: Ingredient Quality Audit:
The most common failure point in poultry infrastructure is excess surface moisture. If your thighs arrive in a vacuum-sealed pack sitting in a pool of "purge" (the pinkish fluid in the bag), the skin is already compromised. To fix this, you must perform a dry-brine intervention. Pat the protein dry with industrial-grade paper towels and leave it uncovered in the refrigerator for at least two hours. This allows the air to dehydrate the epidermis, ensuring the fat can render efficiently rather than steaming. Furthermore, ensure your spices are not expired; old paprika loses its volatile oils and will taste like dusty cardboard rather than a piquant infusion.
THE MASTERCLASS
1. The Surface Preparation
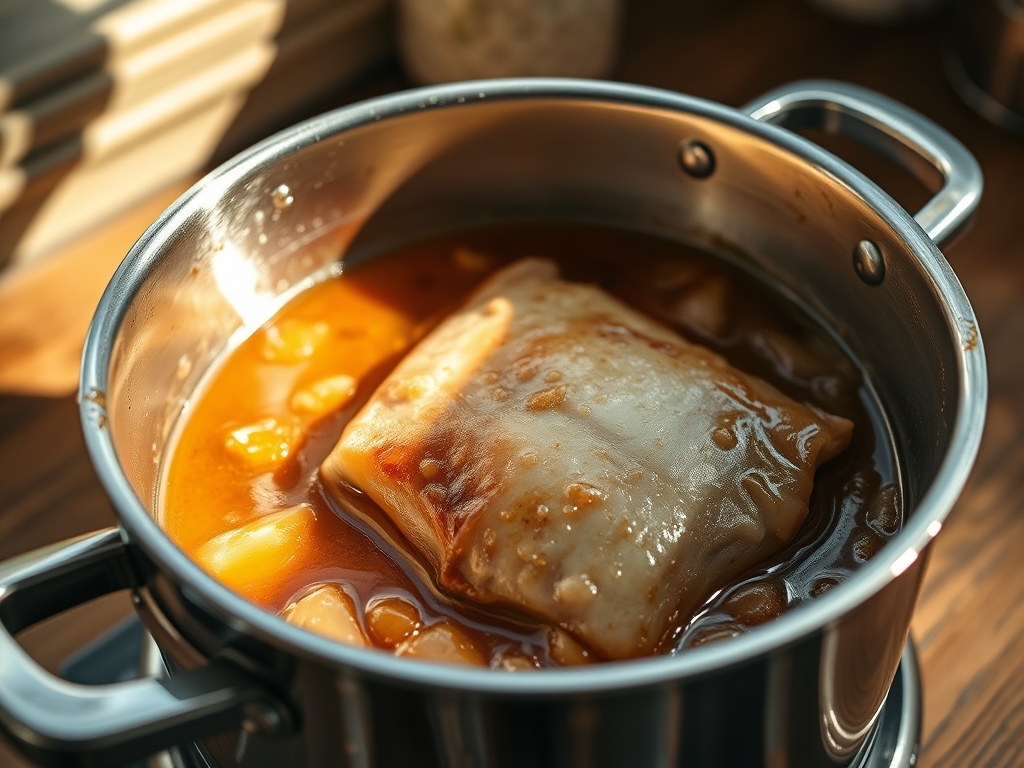
Apply your dry rub (salt, pepper, paprika, garlic powder) exclusively to the skin side first. Use a digital scale to ensure your salt ratios are precise; 1.5% salt by weight is the industry standard for optimal flavor penetration.
Pro Tip: Salt acts as a denaturant. It breaks down the tightly wound proteins on the surface, allowing moisture to escape more easily during the sear. This is the first step in building a crispy foundation.
2. The High-Conductivity Sear
Set your multi cooker to the highest "Sauté" setting. Add the avocado oil and wait until it reaches its shimmering point. Place the thighs skin-side down. Do not crowd the vessel; work in batches if necessary to maintain thermal mass.
Pro Tip: Use a heavy-duty kitchen tong to press the meat down. This ensures maximum surface contact with the heating element, facilitating an even Maillard reaction across the entire skin surface.
3. The Deglaze Maneuver
Once the skin is deep amber, remove the chicken. You will notice "fond" (browned bits) stuck to the bottom. Pour in your 235 ml / 1 cup of broth and use a silicone whisk or wooden spatula to scrape the bottom clean.
Pro Tip: Deglazing is not just for cleaning; it captures the concentrated flavor compounds created during the sear. This liquid will infuse the meat with deep umami notes during the pressure cycle.
4. The Pressurized Infusion
Insert the trivet into the cooker. Place the chicken on the trivet, skin-side UP. This keeps the skin out of the liquid, preventing it from becoming soggy. Lock the lid and set to High Pressure for 10 minutes.
Pro Tip: Using a trivet creates a steam-convection environment. The bottom of the thigh braises in the liquid while the top remains "dry," preserving the structural work you did during the sear.
5. The Emulsified Finish
After a quick pressure release, remove the chicken. Switch back to Sauté mode. Whisk in the cold butter and rosemary to create a viscous, glossy pan sauce.
Pro Tip: This is a "monter au beurre" technique. The cold butter fat emulsifies with the chicken juices and broth, creating a rich coating that clings to the meat without being greasy.
Section B: Prep & Timing Fault-Lines:
The greatest human error in multi-cooker operations is the "False Start." If you begin the pressure cycle before the liquid has reached a simmer during the deglazing phase, the machine takes significantly longer to come to pressure. This overcooks the exterior of the meat before the interior is safe. Use a thermopen to verify that your liquid is at least 80 degrees Celsius before sealing the lid. This ensures the timer starts as close to the actual "cooking" moment as possible.
THE VISUAL SPECTRUM
Section C: Thermal & Visual Troubleshooting:
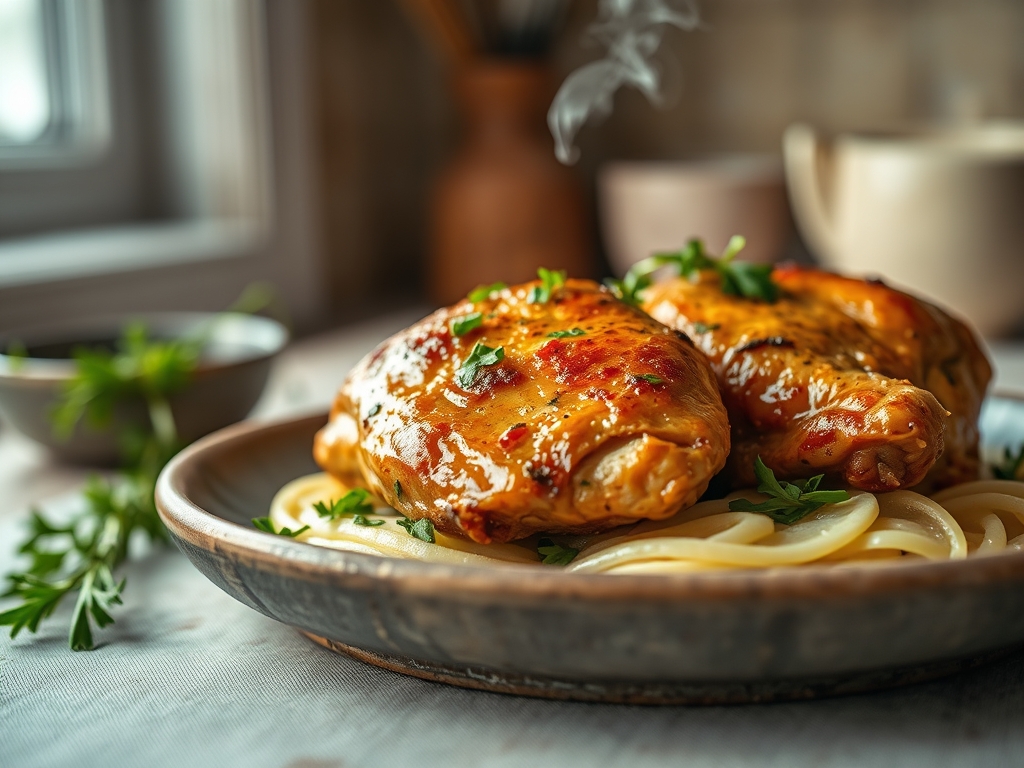
Referencing the Masterclass photo, your target is a "Burnished Bronze" finish. If your chicken looks pale or grey, your sauté temperature was too low; the oil must be nearly smoking before the meat hits the pan. If the skin is falling off or looks "shredded," you likely skipped the trivet, allowing the skin to boil in the broth. The visual cues in the photo show a clear separation between the crispy skin and the moist meat beneath. If your sauce looks broken or oily, you added the butter while the liquid was at a rolling boil. Turn off the heat and whisk vigorously to aerate and re-emulsify the fats.
THE DEEP DIVE
Macro Nutrition Profile:
A standard serving of two thighs provides approximately 42g of protein, 28g of fat, and 0g of carbohydrates. The caloric density is high, making it an ideal anchor for high-performance diets.
Dietary Swaps:
- Vegan: This infrastructure can be applied to "Lion's Mane" mushrooms. Sear the steaks heavily and pressure cook for only 2 minutes in a vegetable dashi.
- Keto: This recipe is inherently Keto-compliant. Ensure your bone broth has no added sugars or cornstarch.
- GF: The recipe is naturally gluten-free. Avoid using flour to thicken the sauce; use the butter reduction method instead.
Meal Prep & Reheating Science:
To maintain the molecular structure when reheating, avoid the microwave. The microwave agitates water molecules, which will steam the skin from the inside out, turning it rubbery. Instead, use an air fryer or convection oven at 200C / 400F for 5 minutes. This re-renders the surface fats and restores the "snap" to the skin.
THE KITCHEN TABLE
Why is my chicken skin still rubbery?
You likely didn't sear long enough or skipped the "pat dry" step. Moisture is the enemy of crispness. Ensure the skin is parchment-dry before hitting the hot oil to ensure the fat can render properly.
Can I use frozen thighs?
Technically yes, but your infrastructure will crumble. Frozen meat releases massive amounts of water as it thaws under pressure, which will boil the chicken rather than braising it. Always thaw and dry your protein for the best results.
What is the best liquid for deglazing?
While bone broth is standard, a dry white wine or a splash of verjus adds a piquant acidity that cuts through the fat. Just ensure you scrape every bit of fond from the bottom to prevent a "burn" notice.
Do I need to natural release the pressure?
For chicken thighs, a quick release is preferred. Thighs are resilient due to their connective tissue, but an extended natural release can lead to "over-extraction," making the meat feel dry despite being sitting in liquid.