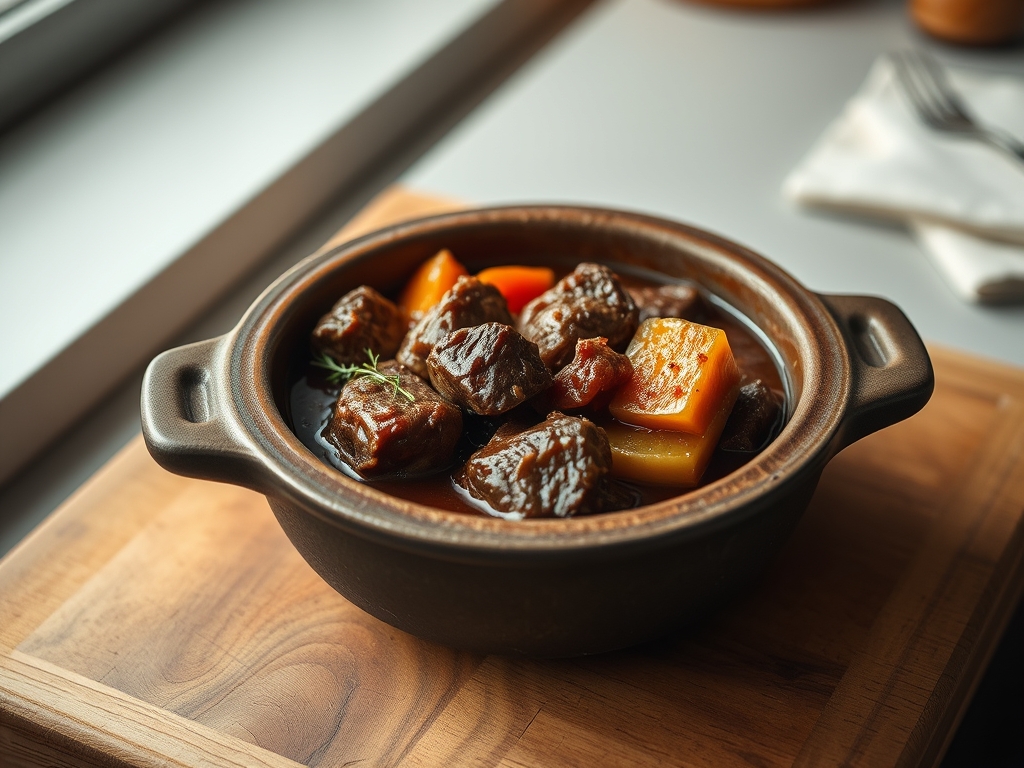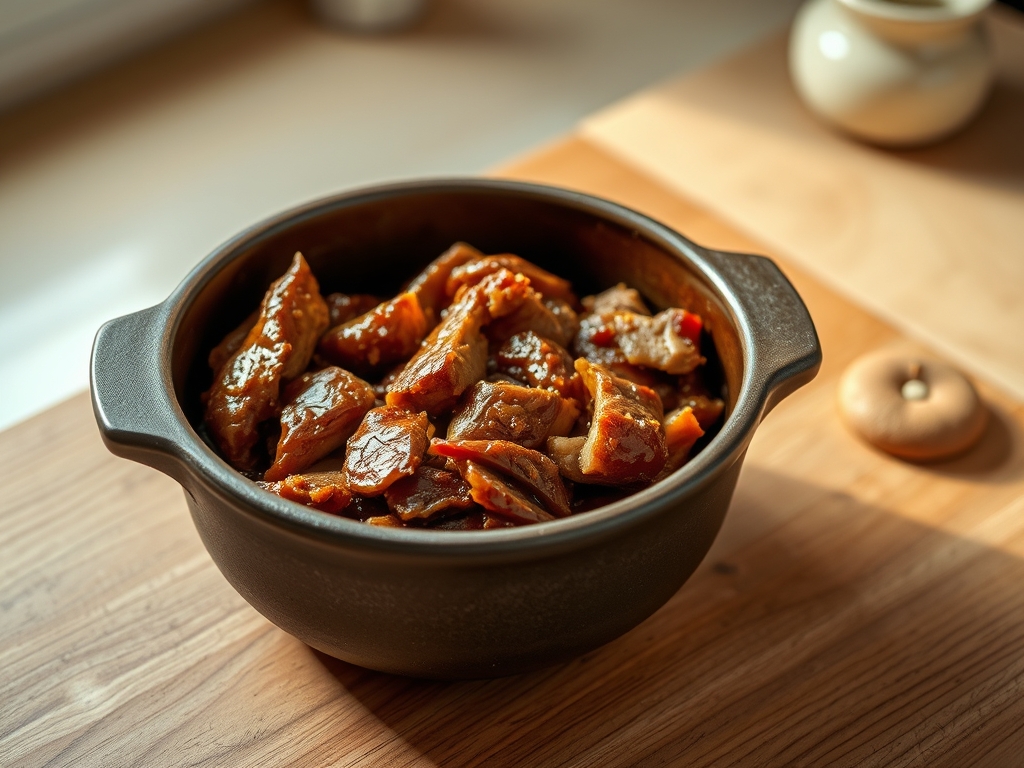
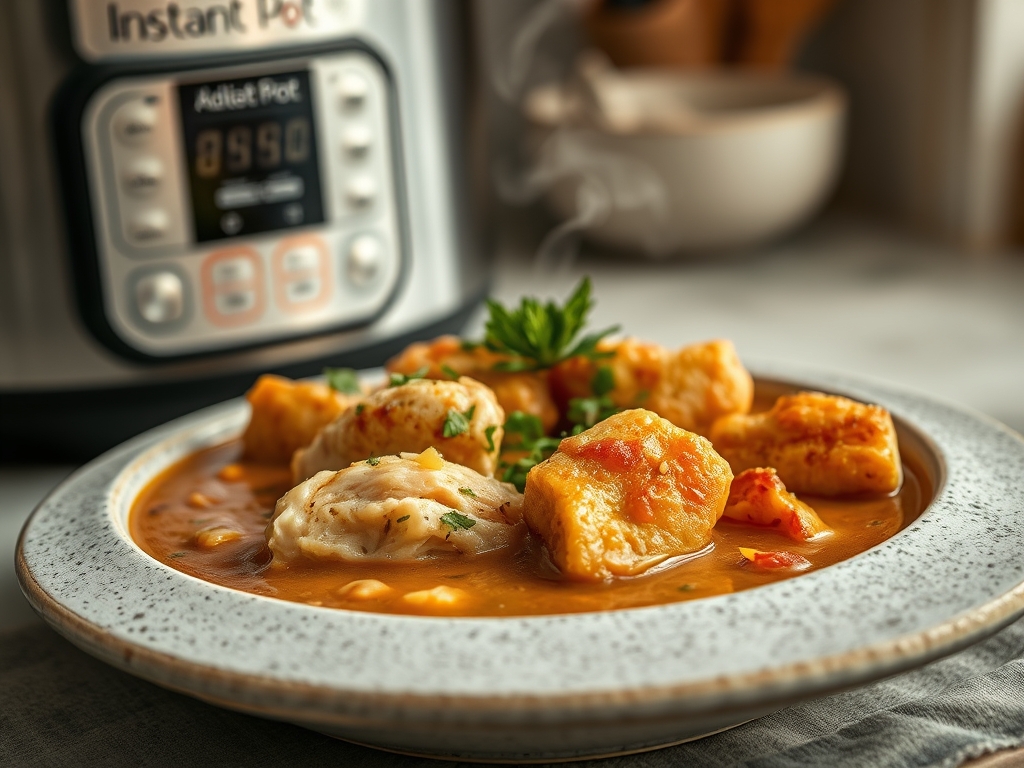
Steam screams from the pressure valve like a jet engine on a tarmac. You are not just making dinner; you are managing a high-pressure extraction chamber designed to force flavor out of bone and marrow in record time. The standard stovetop method is a romantic relic of the past that requires hours of evaporation and hovering. In the modern kitchen infrastructure, we utilize the Instant Pot Chicken Soup protocol to achieve a viscous, golden elixir in under an hour. We are looking for total collagen transformation and a broth so clear it reflects your own ambitious face. This is about the physics of the Maillard reaction meeting the brute force of atmospheric pressure. If your current soup resembles a muddy puddle of overcooked celery, your system is failing. We are here to audit your process, optimize your aromatics, and ensure that every spoonful delivers a piquant punch of poultry essence. Put down the canned stock and prepare for a technical overhaul of your culinary workflow.
THE DATA MATRIX
| Metric | Specification |
|---|---|
| Prep Time | 15 Minutes |
| Execution Time | 45 Minutes |
| Yield | 2.8 Liters / 12 Cups |
| Complexity (1-10) | 3 |
| Estimated Cost per Serving | $1.45 USD |
THE GATHERS
Ingredient Protocol:
- 1.4 kg / 3 lbs Whole Chicken (broken down into primal cuts)
- 1.5 Liters / 6.3 Cups Filtered Water
- 300g / 3 Medium Carrots (large oblique cuts)
- 200g / 3 Stalks Celery (1-inch crescents)
- 150g / 1 Large Yellow Onion (quartered)
- 4 Large Garlic Cloves (smashed)
- 15g / 1 tbsp Sea Salt
- 5g / 1 tsp Black Peppercorns (whole)
- 2 Large Bay Leaves
- 10g / 1 bunch Fresh Parsley (stems included)
Section A: Ingredient Quality Audit:
The primary failure point in most soup infrastructures is the quality of the bird. If you use a "woody" breast or a bird that has been frozen and thawed improperly, the proteins will become mealy. Technical Fix: Always source air-chilled poultry to avoid excess water weight that dilutes the flavor profile. If your vegetables are limp, they lack the cellular integrity to withstand high pressure. Technical Fix: Submerge wilting aromatics in an ice bath for 20 minutes before prep to restore turgidity. If your garlic is sprouting green centers, it will introduce a bitter alkaloid to the broth. Technical Fix: Slice the cloves lengthwise and remove the green germ with a paring knife before adding them to the vessel.
THE MASTERCLASS
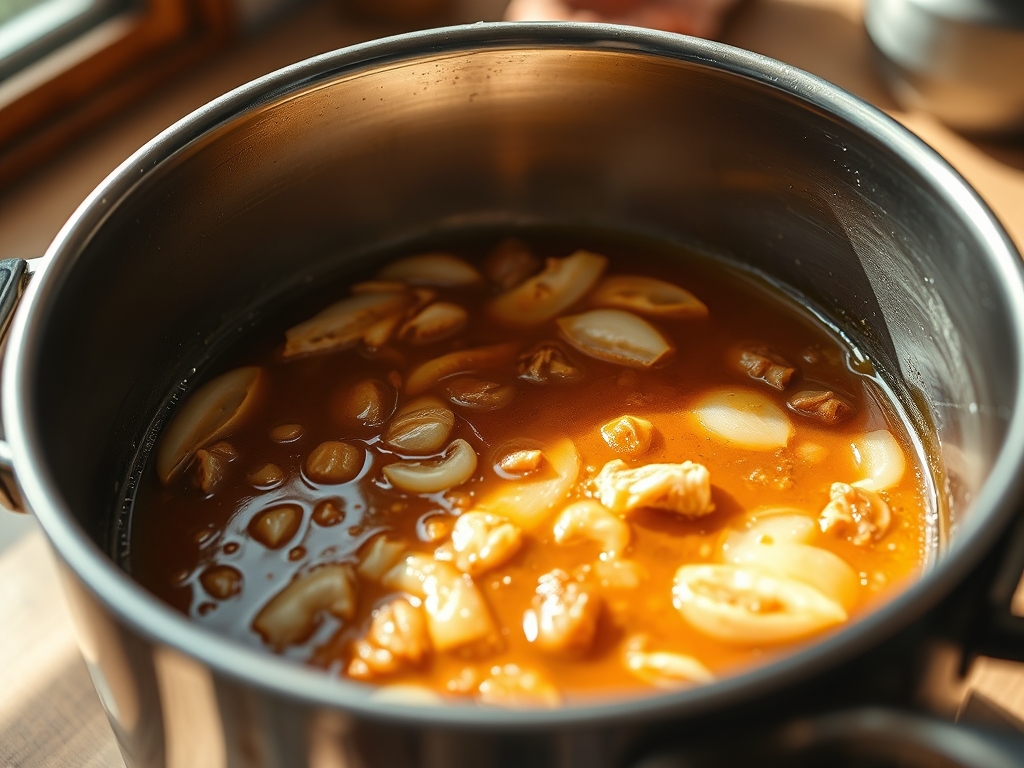
1. The Searing Phase: Initial Lipid Rendering
Set your pressure cooker to the "Sauté" function on the highest setting. Add a small amount of neutral oil and place the chicken pieces skin-side down. You are looking to render the subcutaneous fat and create a deep golden crust. Use a digital scale to ensure your salt ratios are precise before seasoning the skin.
Pro Tip: This phase initiates the Maillard reaction, creating complex flavor compounds that cannot be achieved through boiling alone. Use a bench scraper to clear any stuck bits from the bottom to prevent the "Burn" notice.
2. The Deglaze: Recovering Fond
Once the chicken is browned, remove it and add the onions. Use the moisture from the vegetables to deglaze the bottom of the pot. This process captures the concentrated proteins (fond) and integrates them back into the liquid phase.
Pro Tip: Use a heavy-duty wooden spoon or a saucier whisk to scrape the bottom. If the pot is too dry, add 30ml of white wine or water to facilitate the release of caramelized sugars.
3. The Hydro-Loading: Submersion Strategy
Return the chicken to the pot and add the carrots, celery, garlic, and herbs. Pour in the filtered water, ensuring you do not exceed the "Max Fill" line. Adding too much water will decrease the pressure efficiency and lead to a watery, sad excuse for a meal.
Pro Tip: Cold water is essential. Starting with cold water allows the proteins to heat slowly and coagulate, which results in a clearer broth. Always use a liquid measuring cup for accuracy.
4. The Pressure Cycle: Molecular Extraction
Lock the lid and set the manual pressure to High for 20 minutes. Ensure the steam vent is set to the "Sealing" position. This is where the magic of the Instant Pot Chicken Soup occurs; the high pressure raises the boiling point of water, forcing it into the bone matrix to extract marrow and collagen.
Pro Tip: Allow for a 15-minute Natural Pressure Release (NPR). A Quick Release (QR) causes the liquid to boil violently, which will emulsify the fats and cloud your broth.
5. The Final Filtration: Clarity Control
Carefully remove the chicken and vegetables. Use a fine-mesh strainer or a chinois to filter the broth into a clean vessel. This removes the spent aromatics and any coagulated protein "scum" that formed during the cook.
Pro Tip: For a professional finish, use a fat separator or a chilled spoon to remove excess lipids from the surface. This ensures the broth remains light and clean on the palate.
Section B: Prep & Timing Fault-Lines:
Human error often manifests in the "Natural Release" phase. If you are impatient and toggle the valve too early, the sudden drop in pressure causes the liquid to flash-boil. This turbulence breaks apart the vegetables and creates a murky, "dirty" looking soup. Technical Fix: Set a secondary timer on your phone to track the NPR precisely. Another common fault is over-chopping the vegetables. Small pieces will disintegrate into mush under 15psi. Technical Fix: Keep your mirepoix in large, uniform chunks to maintain structural integrity.
THE VISUAL SPECTRUM
Section C: Thermal & Visual Troubleshooting:
Referencing the Masterclass photo, your final product should exhibit a vibrant, translucent amber hue. If your soup looks grey, you skipped the searing phase or failed to remove the "scum" during filtration. If the carrots look pale and washed out, they were likely over-boiled; ensure you are not exceeding the 20-minute cook time. The chicken should be "fork-tender" but not completely disintegrated. If the meat is dry despite being in liquid, you likely used a Quick Release, which "squeezed" the moisture out of the muscle fibers. The visual cues in the photo show distinct, bright orange carrot rounds and a clear separation of fat droplets on the surface; this is the hallmark of a successful extraction.
THE DEEP DIVE
Macro Nutrition Profile:
A standard 250ml serving contains approximately 180 calories, 15g of protein, 8g of fat, and 6g of carbohydrates. The high collagen content from the pressure-extracted bones provides essential amino acids like glycine and proline, which support gut health and joint integrity.
Dietary Swaps:
- Vegan: Replace chicken with dried shiitake mushrooms and kombu for a deep umami profile. Use a "No-Chicken" bouillon base.
- Keto: Omit the carrots and onions; replace with zucchini and extra celery to minimize net carbs.
- Gluten-Free: This protocol is inherently gluten-free, provided your spices and bouillon are certified.
Meal Prep & Reheating Science:
When cooling, the broth will likely turn into a gelatinous "jelly." This is a sign of high-quality collagen extraction. To reheat, do not use a microwave; the uneven heating can denature the delicate proteins. Instead, use a small saucepan over medium-low heat to gently aerate and liquefy the soup, maintaining its molecular structure and mouthfeel.
THE KITCHEN TABLE
Why is my broth cloudy?
Cloudiness usually results from a "Quick Release" of pressure. The violent boiling action emulsifies the fat into the water. Always use a "Natural Release" for at least 15 minutes to keep the lipid particles from mixing with the aqueous base.
Can I use a frozen chicken?
Yes, but increase the manual pressure time to 30 minutes. Note that you will lose the ability to sear the bird effectively, which may result in a paler broth with a less complex flavor profile.
How do I fix a salty soup?
Do not add more water; this dilutes the body. Instead, add a peeled, halved potato and simmer for 10 minutes. The potato acts as a molecular sponge, absorbing excess sodium without ruining the viscous texture of your broth.
My chicken is tough, what happened?
Counter-intuitively, tough chicken in a pressure cooker is often undercooked. If the connective tissues haven't had enough time to break down into gelatin, the meat remains stringy. Add 5 minutes to the cook time and ensure a full natural release.