Listen closely because your standard kitchen routine is about to undergo a structural overhaul. We are moving away from the guesswork of stovetop simmering and into the precision of automated starch management. When you pursue the perfect Rice Cooker Sushi Rice, you are not just making a side dish; you are engineering a structural matrix. Each grain must act as an independent pillar, coated in a piquant vinegar glaze that provides both flavor and structural integrity. Forget the gummy, over-hydrated messes of your past. We are looking for that specific pearlescent sheen and a texture that offers a slight resistance before yielding to a creamy interior. This is the infrastructure of the perfect bite. By leveraging the thermal sensors of a modern rice cooker, we eliminate the volatility of manual heat control. We are aiming for a result that is aerated, distinct, and mathematically consistent. If you want your sushi rolls to hold their form without collapsing into a dense paste, you must respect the science of the soak and the chemistry of the seasoning.
THE DATA MATRIX
| Metric | Specification |
|---|---|
| Prep Time | 30 Minutes (Includes Soak) |
| Execution Time | 45 Minutes |
| Yield | 4 Servings |
| Complexity (1-10) | 3 |
| Estimated Cost per Serving | $0.85 USD |
THE GATHERS
Ingredient Protocol:
- 500g / 2.5 cups Short-Grain Japanese Rice (Koshihikari preferred)
- 600ml / 2.5 cups Filtered Water
- 90ml / 6 tbsp Rice Vinegar (Unseasoned)
- 30g / 2 tbsp Granulated Sugar
- 10g / 2 tsp Sea Salt
- 1 piece / 2-inch square Kombu (Optional but recommended)
Section A: Ingredient Quality Audit:
The primary failure point in Rice Cooker Sushi Rice is the selection of the grain itself. If you attempt this with long-grain Jasmine or Basmati, the amylopectin levels will be insufficient to create the necessary "cling" factor. You will end up with a dry, shattered mess. If your rice feels brittle before cooking, it is likely aged or dehydrated; increase your soaking time by ten minutes to compensate. Furthermore, check your vinegar. If you are using "Seasoned" rice vinegar, it already contains sugar and salt. Using the protocol above with seasoned vinegar will result in a cloying, over-saturated grain. Always start with unseasoned vinegar to maintain total control over the piquant profile.
THE MASTERCLASS
Step-by-Step Execution:
1. The Friction Wash
Place your rice in a heavy bowl and cover with cold water. Use your hand to agitate the grains vigorously. The water will turn milky as surface starches are released. Drain and repeat at least four times until the water runs clear.
Pro Tip: Use a fine-mesh chinois to drain the rice completely between rinses. Removing excess surface starch prevents the grains from fusing into a monolithic block during the steaming phase.
2. The Hydration Phase
Transfer the washed rice to the rice cooker insert. Add the filtered water and the kombu. Let the rice sit undisturbed for 20 to 30 minutes.
Pro Tip: Use a digital scale to measure water by weight (1g = 1ml) for absolute accuracy. This "soak" allows the moisture to penetrate the core of the grain, ensuring even gelatinization without the exterior becoming mushy.
3. Automated Thermal Cycle
Secure the lid and initiate the "Sushi" or "Regular" setting on your device. Once the cycle completes, do not open the lid immediately. Allow the rice to "carry-over" steam for an additional 10 minutes.
Pro Tip: This resting period uses residual heat to finalize the molecular structure of the starch. Opening the lid too early causes a sudden pressure drop, which can lead to unevenly cooked centers.
4. The Vinegar Infusion
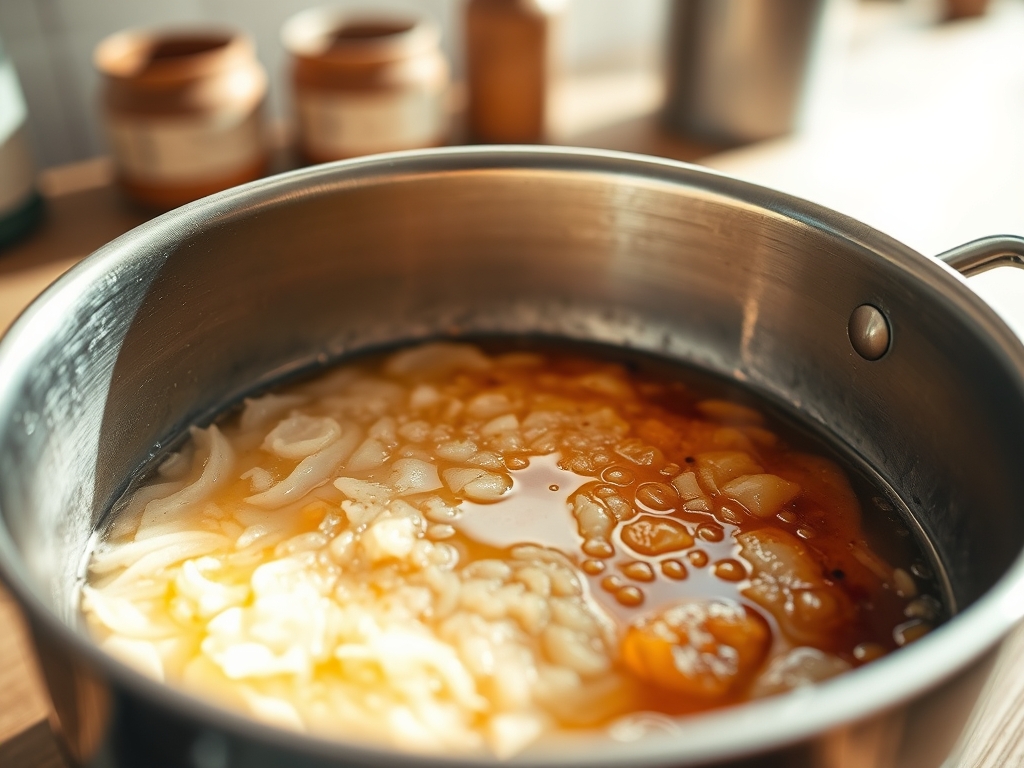
While the rice steams, combine vinegar, sugar, and salt in a small saucier over low heat. Stir until the solids are dissolved but do not let it boil. Transfer the hot rice to a wide, flat-bottomed wooden tub (hangiri) or a large glass bowl.
Pro Tip: Use a plastic or wooden rice paddle (shamoji) to fold the liquid into the rice using a slicing motion. Never stir or mash. A bench scraper can also be used to gently lift and turn the grains to ensure even coating.
5. The Evaporative Cool
Aerate the rice using a handheld fan or a piece of cardboard while you continue the slicing and folding motion. The goal is to cool the rice to room temperature as quickly as possible.
Pro Tip: Rapid cooling creates the signature glossy sheen seen in the masterclass photo. This process locks the vinegar seasoning into the outer layer of the grain, creating a viscous barrier that prevents the rice from drying out.
Section B: Prep & Timing Fault-Lines:
Human error usually occurs during the seasoning phase. If you add the vinegar solution to cold rice, the starch will not absorb the liquid; it will simply sit on the surface, making the rice slimy. Conversely, if you wait too long to fan the rice, the trapped steam will continue to cook the grains, leading to a structural collapse. Use a digital thermometer to ensure you are folding in the seasoning while the rice is between 160F and 180F.
THE VISUAL SPECTRUM
Section C: Thermal & Visual Troubleshooting:
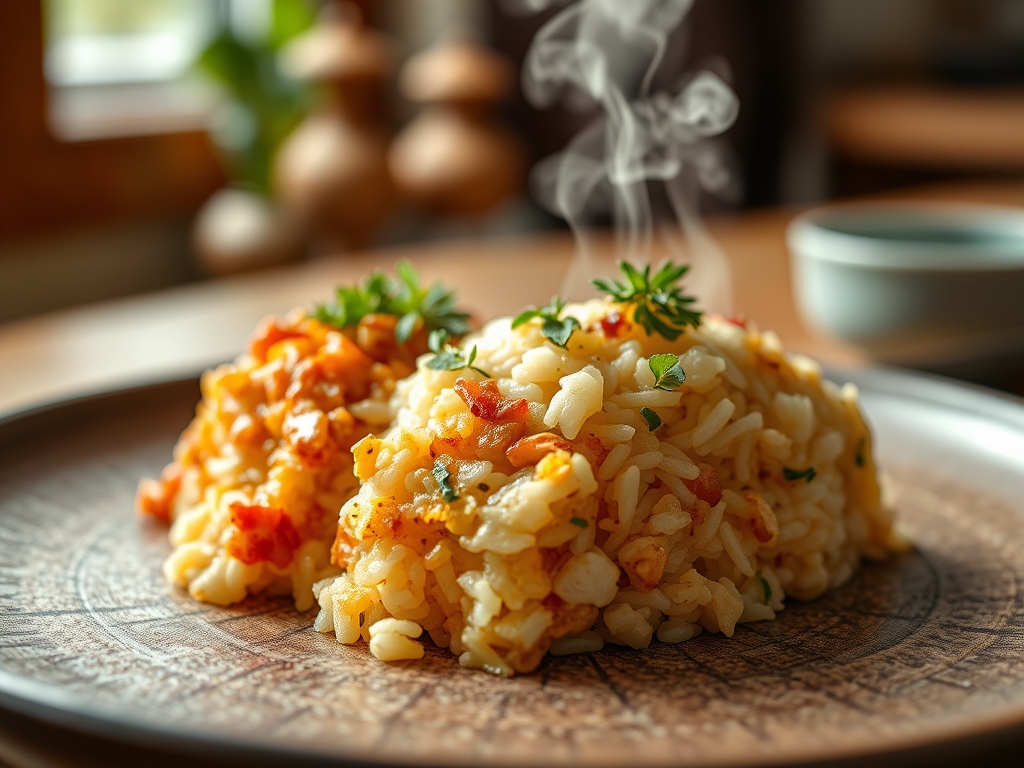
Referencing the Masterclass photo, your Rice Cooker Sushi Rice should exhibit a distinct "defined grain" architecture. If your rice looks dull or matte, you likely skipped the fanning process or used old vinegar. If the grains appear broken or jagged, your "slicing" technique was too aggressive, or you failed to rinse the rice sufficiently. Uneven browning at the bottom of the cooker suggests a faulty thermal sensor or an incorrect water-to-rice ratio. The ideal visual cue is a translucent, pearly exterior where each grain remains individual yet adheres gently to its neighbor when compressed.
THE DEEP DIVE
Macro Nutrition Profile:
A standard serving (approx. 150g cooked) contains roughly 240 calories, 45g of carbohydrates, 4g of protein, and negligible fat. The addition of the vinegar solution adds approximately 5g of sugar per serving, which is essential for the traditional flavor profile but should be noted for those monitoring glycemic loads.
Dietary Swaps:
- Vegan: This protocol is naturally vegan.
- Keto: There is no direct keto substitute for short-grain rice that maintains this structure, though cauliflower rice "sushi" can be made using xanthan gum as a binder.
- GF: Ensure your rice vinegar is certified gluten-free, as some cheaper brands use malt-based grain alcohols.
Meal Prep & Reheating Science:
Sushi rice is best consumed within 4 hours of preparation. Refrigeration causes "retrogradation," where the starch molecules realign into a hard, crystalline structure. To revive, sprinkle with a teaspoon of water and microwave under a damp paper towel to re-gelatinize the starches, though the texture will never truly return to its freshly-steamed state.
THE KITCHEN TABLE
Why is my sushi rice so sticky and mushy?
You likely over-hydrated the grains or failed to rinse away the excess surface starch. Ensure you use a 1:1.1 or 1:1.2 ratio of rice to water and rinse until the water is completely transparent.
Can I use apple cider vinegar instead?
You can, but the flavor profile will shift dramatically. Apple cider vinegar lacks the delicate, clean acidity of rice vinegar and will impart a fruity, brownish hue to your pearlescent grains.
Do I really need the kombu?
Kombu provides natural glutamates that infuse the rice with umami. While not strictly necessary for the "stick," it is the secret to that professional, savory depth found in high-end sushi dens.
How do I stop the rice from sticking to my hands?
Keep a bowl of "Tezu" (a mixture of water and a splash of rice vinegar) nearby. Wetting your hands with this acidic solution prevents the starch from bonding to your skin while you handle the rice.