Stop settling for the sad, shriveled pellets of disappointment that pass for healthy grains in most domestic kitchens. You know the ones; they are either a monolithic block of starch or a collection of gravelly husks that defy mastication. We are here to perform a total systems overhaul. When you master Rice Cooker Brown Rice, you are not just boiling seeds; you are managing a complex biological transition known as germination phase hydration. We are looking for that elusive structural integrity where the bran remains intact but the interior endosperm has undergone a total gelatinization event. Imagine a bowl where every grain is distinct, gleaming with a subtle nutty sheen, and possessing a toothsome bounce that releases a toasted, earthy aroma upon the first steam vent. This is not a side dish. This is a foundational architectural element of your nutritional infrastructure. We are going to harness the precision of modern heating elements to force water past the hydrophobic bran layer, ensuring a texture that is supple rather than sandy.
THE DATA MATRIX
| Metric | Specification |
|---|---|
| Prep Time | 10 Minutes |
| Execution Time | 50 to 60 Minutes |
| Yield | 3 to 4 Servings |
| Complexity (1-10) | 3 |
| Estimated Cost per Serving | $0.45 USD |
THE GATHERS
Ingredient Protocol:
- Long-Grain Brown Rice: 370g / 2 cups
- Filtered Water: 600ml / 2.5 cups
- Unsalted Butter or Neutral Oil: 15ml / 1 tablespoon
- Kosher Salt: 5g / 1 teaspoon
- Optional: Toasted Sesame Oil: 5ml / 1 teaspoon
Section A: Ingredient Quality Audit:
The primary failure point in Rice Cooker Brown Rice is the age of the grain. Brown rice contains the germ and bran, which house volatile oils. If your rice smells like old cardboard or paint, those oils have oxidized. The fix is non-negotiable: discard it. Always source rice from high-turnover suppliers to ensure the lipids are fresh. If your water has a high mineral content, it can toughen the bran layer through calcium-pectin cross-linking. If your tap water tastes metallic or "hard," use filtered water to ensure the hydration process is not chemically inhibited. Finally, if the grain appears fractured or dusty, it will release excess surface starch, leading to a gummy final product. A rigorous rinse is your primary defense against this structural collapse.
THE MASTERCLASS
Step-by-Step Execution:
1. The Kinetic Rinse and Purification
Place your raw grains into a fine-mesh sieve. Submerge the sieve in a bowl of cold water and agitate the grains vigorously with your hands to aerate and scrub the surface. Lift and drain, repeating until the water runs crystal clear.
Pro Tip: Use a digital scale to measure your rice and water rather than volume cups. Mass is constant, whereas volume fluctuates based on how tightly the grains settle. This precision prevents the dreaded "mush factor" caused by even a 5 percent deviation in hydration.
2. The Pre-Saturate Soak
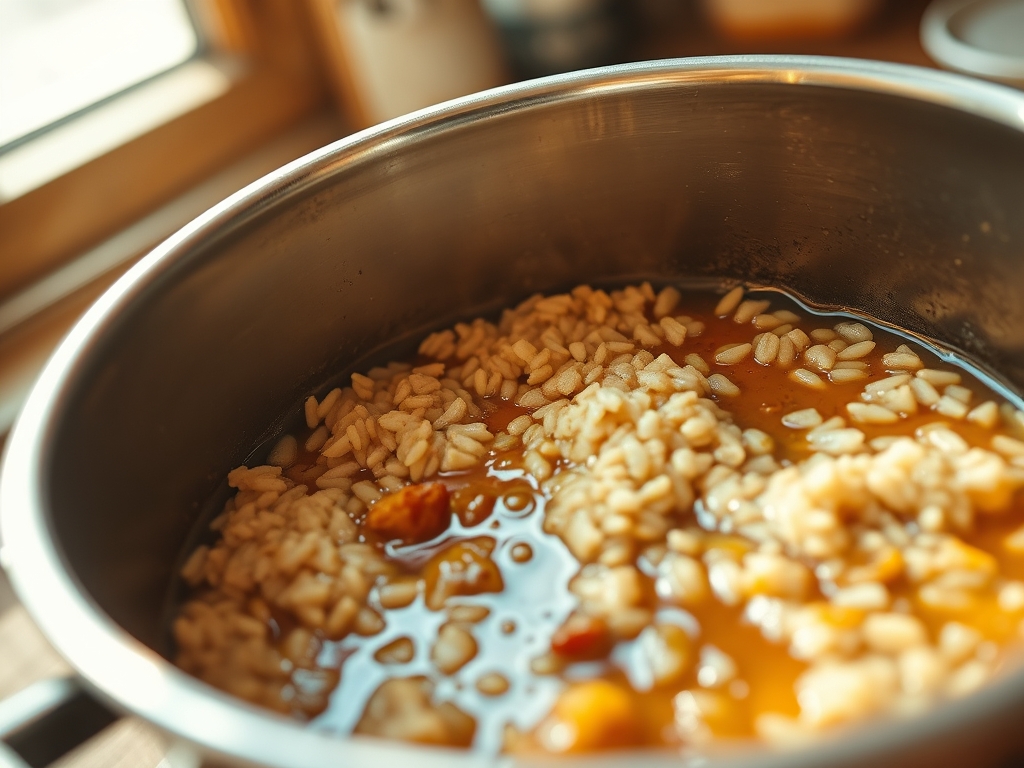
Transfer the rinsed grains to the rice cooker insert. Add the measured filtered water and let the grains sit undisturbed for at least 20 minutes before hitting the start button.
Pro Tip: This soaking period initiates the germination phase, softening the fibrous bran. In professional kitchens, we use this time to allow the water to infuse the outer hull, which ensures that when the heat kicks in, the core of the grain cooks at the same rate as the exterior.
3. The Lipid and Mineral Integration
Add your salt and the fat source (butter or oil) to the water. Stir once with a silicone spatula to distribute. The fat acts as a surfactant, coating individual grains to prevent them from fusing together during the starch-swelling phase.
Pro Tip: This is where you can render a more complex flavor profile by using browned butter. The lipids provide a barrier that helps maintain the grain's individuality, preventing a viscous starch buildup that leads to clumping.
4. The Thermal Cycle and Steam Rest
Select the "Brown Rice" setting on your device. If your machine lacks this, use the standard cycle but be prepared for a longer duration. Once the cycle completes, do not open the lid. Let the rice rest on the "Keep Warm" setting for a minimum of 10 minutes.
Pro Tip: During this rest, the residual steam redistributes through the pot. Opening the lid too early causes a sudden pressure drop, which can cause the grains to seize and become tough. Use a saucier or a wide bowl for serving to prevent crushing the grains under their own weight.
5. The Final Aeration
Open the lid and use a plastic rice paddle or a bench scraper to gently "fold" the rice. Do not stir in circles. Lift from the bottom and turn the grains over to release excess steam.
Pro Tip: This step allows the surface moisture to evaporate rapidly, setting the starch and giving each grain a distinct, polished appearance. This is the moment to add a piquant finish like lime juice or fresh herbs if desired.
Section B: Prep & Timing Fault-Lines:
The most common human error is the "Impatience Gap." If you skip the 10-minute rest, you will find the bottom layer of rice is soggy while the top is dry. The thermal mass of the cooker needs time to equalize. Another fault-line is the "Scale Error." If you are doubling the recipe, do not simply double the water. Surface area evaporation rates change in larger batches; usually, you will need slightly less than a 2:1 ratio as you scale up. If your rice is consistently crunchy, your cooker's "Brown Rice" sensor may be cycling off too early. Increase the water by 30ml increments in future trials until the calibration matches your specific altitude and hardware.
THE VISUAL SPECTRUM
Section C: Thermal & Visual Troubleshooting:
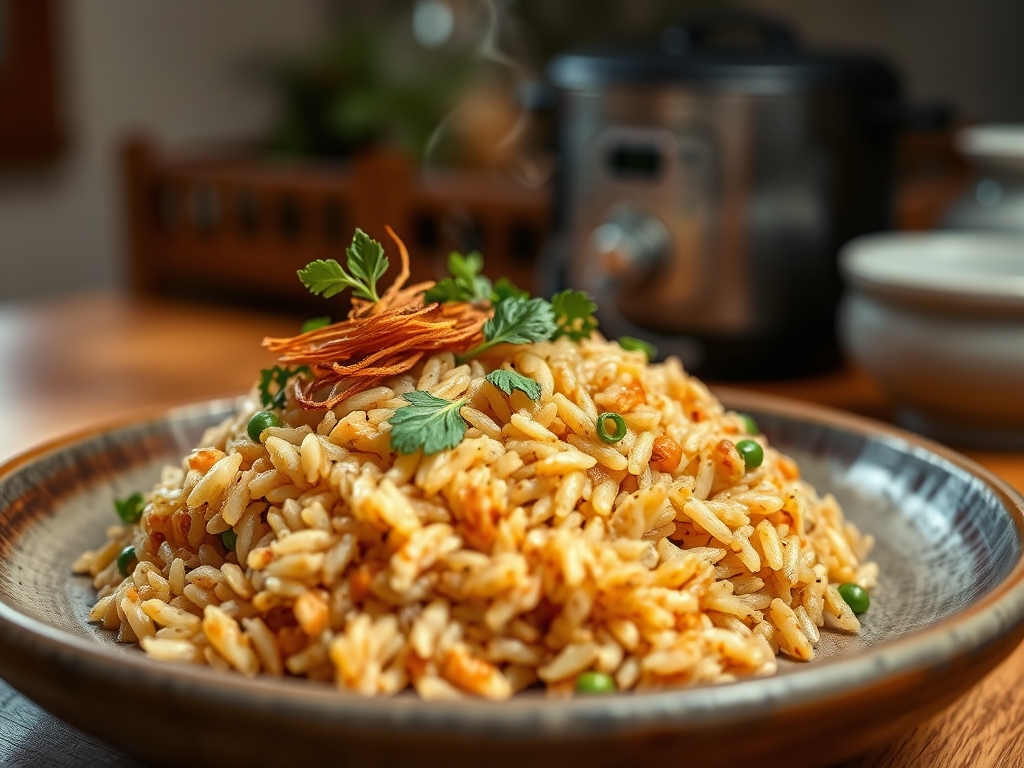
Look closely at the Masterclass photo above. Notice the "crater" patterns on the surface; these are steam vents, a sign of perfect hydration. If your rice looks like a flat, wet marsh, you have used too much water. If the grains look matte and chalky, they are under-hydrated. The color should be a deep, warm amber with a slight translucence at the edges. If you see white "bellies" on the grains, the starch hasn't fully gelatinized. To fix a dull appearance, ensure you are adding that small amount of fat before cooking; it provides the specular highlight that makes the dish look appetizing. If the bottom is scorched, your cooker's "Keep Warm" function may be too aggressive; remove the insert from the heat source immediately after the rest period.
THE DEEP DIVE
Macro Nutrition Profile:
Brown rice is a complex carbohydrate powerhouse. A single cup provides approximately 215 calories, 5 grams of protein, and 3.5 grams of fiber. It is rich in manganese, which is essential for bone formation and metabolic function. Because the bran and germ are intact, it has a lower glycemic index than white rice, providing sustained energy release rather than a spike and crash.
Dietary Swaps:
- Vegan: Use coconut oil or avocado oil instead of butter to maintain the lipid barrier.
- Keto: There is no direct swap for rice in a keto diet, but for those "low-carb adjacent," mixing 50 percent brown rice with 50 percent riced cauliflower provides volume with fewer carbs.
- GF: Brown rice is naturally gluten-free, but always check for "cross-contamination" warnings on the packaging if you have a high sensitivity.
Meal Prep & Reheating Science:
Rice undergoes starch retrogradation when cooled, which makes it firm. To reheat while maintaining molecular structure, add a teaspoon of water per cup of rice and cover tightly. This recreates a mini steam chamber, re-hydrating the starch granules without making them mushy. For the best results, use a microwave-safe glass container with a vented lid.
THE KITCHEN TABLE
Why is my brown rice always crunchy?
You likely skipped the pre-soak or your water-to-grain ratio is too low. Brown rice requires more time and liquid than white rice to penetrate the fibrous bran layer. Increase water by 10 percent and soak for 20 minutes.
Can I cook brown rice on the white rice setting?
It is not recommended. The white rice cycle is shorter and operates at a different temperature curve. Using it for brown rice usually results in grains that are exploded on the outside but raw and hard in the center.
Do I really need to rinse the rice?
Yes. Rinsing removes excess surface starch and debris. Without rinsing, that starch turns into a sticky glue during the cooking process, preventing the grains from separating and creating a gummy, unappealing texture.
How long does cooked brown rice last in the fridge?
Stored in an airtight container, it stays fresh for 3 to 5 days. For longer storage, freeze it in individual portions. It thaws beautifully and maintains its structural integrity better than white rice does.
Can I add broth instead of water?
Absolutely. Using vegetable or chicken bone broth adds significant depth. Just ensure the broth is low-sodium so you can control the mineral content, which affects how the grains soften during the hydration phase.