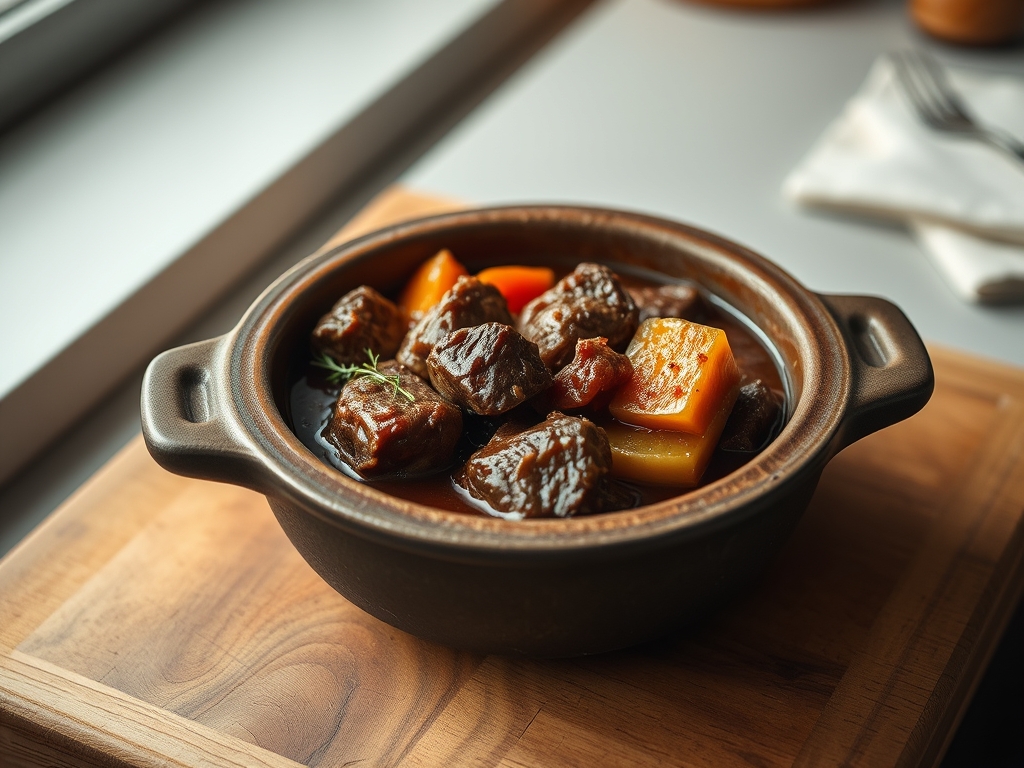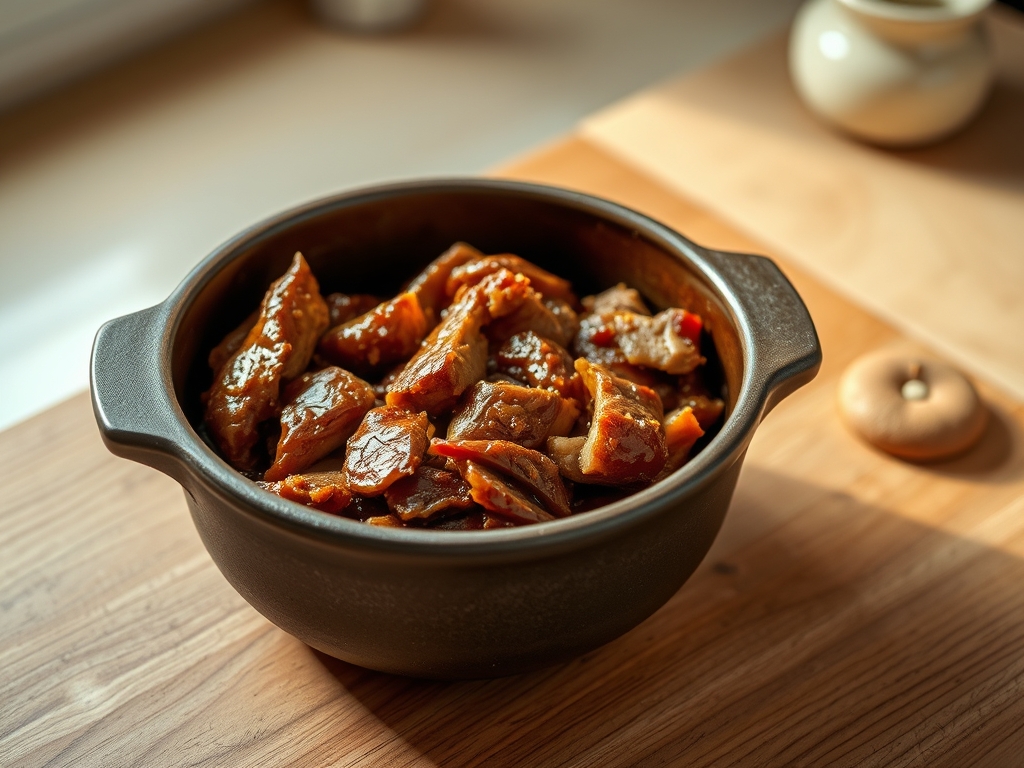
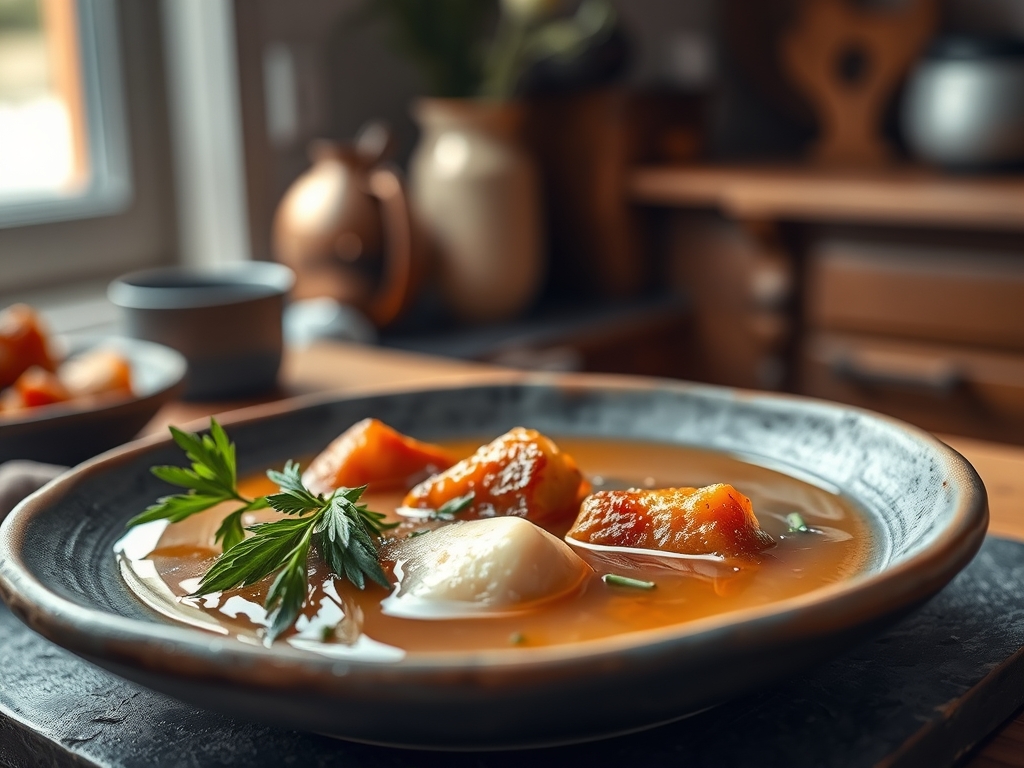
Stop treating your kitchen like a hobbyist's playground and start viewing it as a high-output mineral extraction facility. We are not just making soup; we are conducting a high-pressure thermal intervention to liberate collagen and marrow from their calcified prisons. The goal is a liquid gold so viscous it wobbles like panna cotta when chilled. Most home cooks settle for a thin, watery tea that lacks the soul-shaking depth of a professional fond. We are here to fix that. By utilizing the localized atmospheric pressure of a digital multicooker, we can compress a forty-eight-hour simmer into a sleek, two-hour sprint. This is the definitive guide to Instant Pot Bone Broth. It is about efficiency, precision, and the ruthless pursuit of gelatinous perfection. Forget the stovetop evaporation and the constant monitoring of a flame. We are harnessing physics to force water molecules into the deepest crevices of connective tissue. Prepare your senses for an olfactory assault of roasted marrow and aromatic mirepoix. Let us begin the extraction.
THE DATA MATRIX
| Metric | Specification |
|---|---|
| Prep Time | 20 Minutes |
| Execution Time | 120 Minutes (High Pressure) |
| Yield | 3.8 Liters / 1 Gallon |
| Complexity (1-10) | 3 |
| Estimated Cost per Serving | $0.45 |
THE GATHERS
Ingredient Protocol:
- Beef Marrow and Knuckle Bones: 1.8 kg / 4 lbs
- Filtered Water: 3.8 Liters / 1 Gallon
- Apple Cider Vinegar: 30 ml / 2 tbsp
- Yellow Onions (Halved): 280g / 2 medium
- Carrots (Large Chunks): 200g / 3 large
- Celery Stalks: 150g / 3 stalks
- Garlic Cloves (Smashed): 20g / 5 cloves
- Black Peppercorns: 5g / 1 tbsp
- Bay Leaves: 3 pieces
- Sea Salt: To taste (post-extraction)
Section A: Ingredient Quality Audit:
If your bones are pale and devoid of connective tissue, your yield will be thin and lackluster. Technical fix: Ensure a 50/50 ratio of marrow bones for flavor and "jointy" bones (knuckles or patellas) for collagen. If using frozen bones, do not skip the defrost cycle; ice crystals can interfere with the initial Maillard reaction during roasting. If your vegetables are wilted, they will impart a bitter, oxidized note. Always use fresh, crisp aromatics to ensure a piquant finish. If your water source is high in chlorine, it will chemically "bleat" through the delicate marrow notes. Use filtered water to provide a neutral canvas for the mineral extraction.
THE MASTERCLASS
1. The Maillard Pre-Heat
Preheat your oven to 230C / 450F. Arrange the bones on a heavy-duty sheet pan. Roast for 25 minutes until they are deeply browned and the fat begins to render. Use a bench scraper to loosen any stuck bits.
Pro Tip: Roasting is not optional. This step initiates the Maillard reaction, creating complex flavor compounds that cannot be replicated through boiling alone. The deep brown color of the finished broth is a direct result of this thermal pretreatment.
2. The Deglaze Protocol
Transfer the roasted bones into the stainless steel inner pot of your Instant Pot. Place the roasting pan over a stovetop burner and add a splash of water. Use a saucier whisk or a wooden spoon to scrape up the fond (the brown bits). Pour this liquid gold into the pot.
Pro Tip: The fond contains concentrated umami. Ignoring the residue on your roasting pan is a culinary felony. This liquid ensures the broth has a multi-dimensional profile rather than a flat, metallic taste.
3. The Atmospheric Charge
Add the vegetables, aromatics, vinegar, and filtered water. Ensure you do not exceed the "Max Fill" line. Secure the lid and set the valve to "Sealing." Select the Manual/Pressure Cook function on High for 120 minutes.
Pro Tip: Use a digital scale to weigh your aromatics for consistency. The vinegar acts as a catalyst, lowering the pH of the water to help dissolve calcium and pull minerals from the bone matrix more effectively.
4. The Controlled Descent
Once the timer expires, allow the pressure to release naturally for at least 30 minutes. This prevents the liquid from boiling violently, which would emulsify the fats and result in a cloudy, greasy mess.
Pro Tip: A natural release maintains the structural integrity of the liquid. Sudden depressurization causes "the boil-over effect" inside the chamber, which can clog the steam vent and ruin the clarity of your extraction.
5. The Clarification Filter
Carefully strain the broth through a fine-mesh sieve lined with cheesecloth into a large bowl. Discard the spent solids. Transfer the liquid to glass jars and refrigerate immediately.
Pro Tip: Use a chinois for the most professional results. Rapid cooling is essential to prevent bacterial growth and to allow the fat to solidify into a "tallow cap" on the surface, which naturally seals and preserves the broth.
Section B: Prep & Timing Fault-Lines:
The most common human error is impatience during the cooling phase. If you put a scorching hot pot of broth directly into a weak refrigerator, you risk raising the ambient temperature and spoiling other perishables. Use an ice bath to drop the temperature to 4C / 40F within two hours. Another timing error is the "Quick Release" of pressure; this creates a turbulent environment that forces fat into the water, destroying the transparency of your broth.
THE VISUAL SPECTRUM
Section C: Thermal & Visual Troubleshooting:
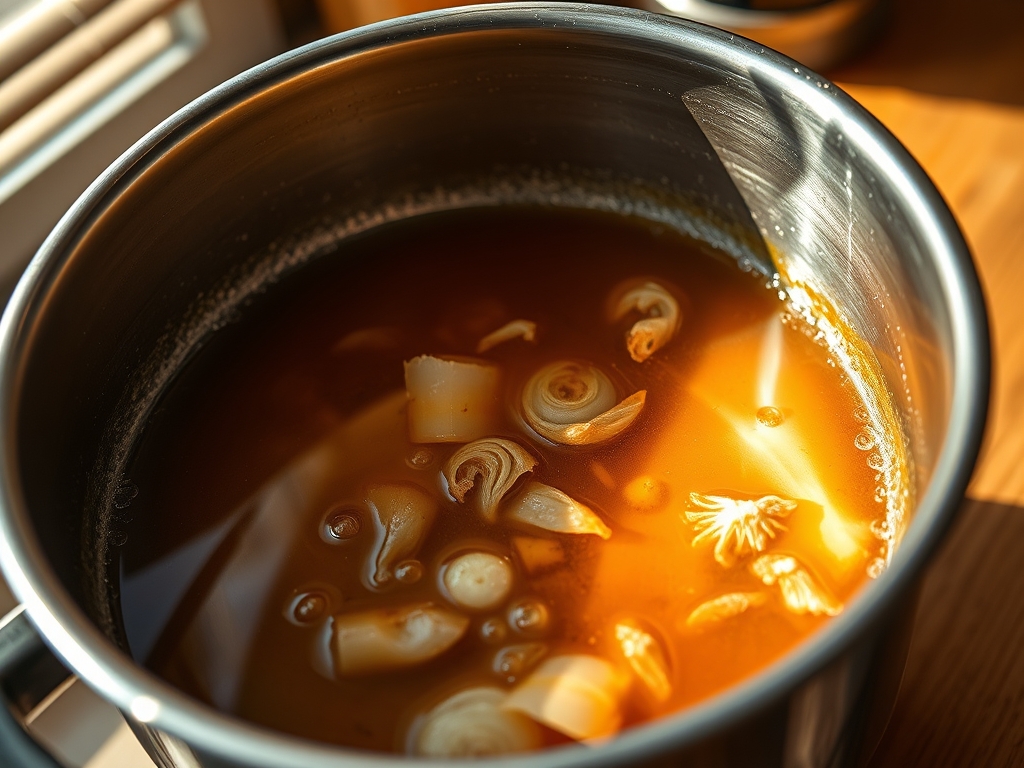
Look at the Masterclass photo above. Notice the deep, amber clarity and the absence of floating particulate matter. If your broth looks grey or muddy, you likely skipped the roasting phase or used too much heat during a stovetop simmer. If there is a thick layer of white foam on top, you failed to blanch or roast the bones to remove impurities. A "broken" look, where oil slicks are large and disconnected, suggests the broth was boiled too hard. The ideal texture should be a clean liquid when hot and a firm, resilient jelly when cold. If it remains liquid when chilled, your bone-to-water ratio was too low, or you lacked sufficient knuckle bones.
THE DEEP DIVE
Macro Nutrition Profile:
A standard 250ml serving contains approximately 10g of protein, 0g of carbohydrates, and 2g of fat. It is rich in glycine, proline, and hydroxyproline; the primary amino acids required for human collagen synthesis. The mineral content includes bioavailable calcium, magnesium, and phosphorus.
Dietary Swaps:
- Vegan: Replace bones with dried shiitake mushrooms, kombu (seaweed), and nutritional yeast for a high-umami "Mineral Broth."
- Keto/GF: This recipe is natively compliant. Ensure your "Sea Salt" does not contain anti-caking agents like dextrose.
Meal Prep & Reheating Science:
To maintain the molecular structure, reheat the broth gently over medium-low heat. Avoid the microwave, as localized "hot spots" can denature the delicate gelatin proteins, resulting in a thinner mouthfeel. Store in the freezer for up to six months; leave 2cm of headspace in jars to allow for cryogenic expansion.
THE KITCHEN TABLE
Why is my broth not gelling?
You likely used too much water or too few collagen-rich bones like knuckles and feet. Next time, reduce the water volume by 20 percent or add two chicken feet to the beef bones to boost the gelatin concentration significantly.
Can I reuse the bones for a second batch?
Yes. This is called a remouillage. While the second extraction will be thinner, it still contains valuable minerals. It is an excellent base for cooking grains or beans rather than using plain water.
Is the layer of fat on top safe to eat?
That is "tallow." While edible, it is best scraped off when cold and used as a high-smoke-point cooking fat for searing steaks. Removing it from the broth ensures a cleaner, more refined sipping experience.
How do I achieve that crystal clear look?
Avoid stirring the pot during the pressure cycle or straining process. Use a ladle to gently move the liquid through a cheesecloth-lined sieve. Movement is the enemy of clarity; let gravity do the work for you.