Listen closely because your kitchen is currently a crime scene of wasted potential. We are here to perform a forensic overhaul of the most misunderstood piece of culinary architecture in the domestic repertoire. You think you know the Slow Cooker Pot Roast. You think it is a "set it and forget it" surrender to mediocrity. You are wrong. When executed with the precision of a thermal engineer; this dish is a masterclass in collagen denaturation and lipid suspension. We are not just making dinner; we are managing a multi-hour phase transition where tough connective tissue transforms into a succulent; velvet-textured masterpiece. We are hunting for that specific moment of structural collapse where the beef yields to a fork but retains its muscular integrity. This is high-stakes chemistry disguised as comfort food. If you are looking for a bland; grey pile of fibers; go elsewhere. We are here to optimize the Maillard reaction and achieve a viscous; mahogany-rich reduction that would make a French saucier weep with envy. Grab your digital scale. Let us begin the audit.
THE DATA MATRIX
| Metric | Specification |
|---|---|
| Prep Time | 25 minutes |
| Execution Time | 8 hours (Low) / 4 hours (High) |
| Yield | 6 to 8 Servings |
| Complexity | 3 / 10 |
| Estimated Cost per Serving | $3.50 – $5.00 |
THE GATHERS
Ingredient Protocol:
- 1.4 kg / 3 lbs Beef Chuck Roast (Center cut preferred)
- 15 ml / 1 tbsp High-smoke point oil (Avocado or Grapeseed)
- 450 g / 1 lb Yellow potatoes (Quartered)
- 340 g / 12 oz Carrots (Peeled and cut into 2-inch batons)
- 225 g / 8 oz Yellow onion (Large dice)
- 30 g / 4 cloves Garlic (Smashed)
- 500 ml / 2 cups Beef bone broth (Low sodium)
- 30 ml / 2 tbsp Worcestershire sauce
- 15 g / 1 tbsp Tomato paste
- 5 g / 1 tsp Dried thyme
- 5 g / 1 tsp Dried rosemary
- 10 g / 2 tsp Kosher salt
- 5 g / 1 tsp Coarse black pepper
Section A: Ingredient Quality Audit:
The primary failure point in most roasts is the moisture-to-fat ratio. If your chuck roast looks lean; abort the mission. You require a high degree of intramuscular marbling to ensure the meat does not desiccate during the long thermal cycle. If you find yourself with a sub-par cut; you must compensate by introducing a fat-cap strategy; sear the meat with additional tallow to jumpstart the rendering process. Another common audit failure is the use of "baby" carrots. These are often pre-soaked in water and lack the structural sugars necessary to survive an eight-hour bath without turning into mush. Use whole; organic carrots to ensure they retain a piquant sweetness and firm bite. Finally; if your broth tastes like salt-water; you must infuse it with a tablespoon of balsamic vinegar to provide the necessary acidity to cut through the heavy lipids.
THE MASTERCLASS

Step-by-Step Execution:
1. The Surface Preparation and Thermal Sear
Pat the beef dry with surgical precision using paper towels. Moisture is the enemy of the Maillard reaction. Season aggressively with salt and pepper using a digital scale to ensure a 1 percent salt-to-weight ratio. Heat your oil in a heavy-bottomed stainless steel saucier or cast iron skillet until it reaches the shimmering point. Sear the beef for 4 to 5 minutes per side until a deep; mahogany crust forms.
Pro Tip: This crust is not just for aesthetics. It creates complex flavor molecules through the Maillard reaction; which will later dissolve into the liquid to create a deeply savory profile. Use a bench scraper to clear any burnt bits from your board during prep to keep your workspace sterile.
2. The Deglaze and Aromatics
Remove the meat and set it aside. Immediately toss your onions and garlic into the hot pan. Use a wooden spatula to scrape the fond (the caramelized protein bits) from the bottom of the pan. Add the tomato paste and cook for 60 seconds until it turns a rusty brick color.
Pro Tip: Deglazing is a chemical extraction process. By adding a splash of the beef broth to the hot pan; you are capturing concentrated flavor compounds that would otherwise be lost. This is the difference between a flat sauce and a multidimensional one.
3. The Structural Loading
Place the potatoes and carrots at the bottom of the slow cooker ceramic insert. This creates a thermal buffer for the meat. Position the seared roast on top of the vegetables. Pour the liquid mixture (broth; Worcestershire; herbs) over the assembly until it reaches halfway up the side of the beef.
Pro Tip: Do not submerge the meat entirely. You want the top portion of the roast to benefit from convection steaming; while the bottom undergoes liquid saturation. This dual-zone cooking prevents the meat from becoming waterlogged and flavorless.
4. The Saturation Cycle
Set your device to the "Low" setting for 8 hours. High heat is for the impatient and the reckless; it causes the muscle fibers to contract too violently; squeezing out the internal juices before the collagen has a chance to liquefy into gelatin.
Pro Tip: Resistance is futile. Do not open the lid. Every time you lift the lid; you lose approximately 15 to 20 minutes of thermal momentum. Trust the physics of the sealed environment to do its job.
5. The Final Viscosity Adjustment
Once the timer expires; remove the meat and vegetables. Switch the slow cooker to "High" or move the liquid to a stovetop pan. Whisk in a slurry of cornstarch and cold water (15ml each) to aerate and thicken the sauce into a glossy; coating consistency.
Pro Tip: Use a fine-mesh strainer to remove any spent herb stems or garlic skins. A professional-grade sauce should be smooth; viscous; and capable of clinging to the back of a spoon (the nappe stage).
Section B: Prep & Timing Fault-Lines:
The most frequent human error is the "Cold Start." Taking a 3-pound mass of beef directly from a 38-degree Fahrenheit refrigerator and dropping it into a slow cooker creates a dangerous bacterial window. Always allow your meat to temper at room temperature for 30 minutes before searing. Furthermore; if your vegetables are disintegrating; you likely cut them too small. For an 8-hour cycle; potatoes must be at least 2-inch chunks. If you are running behind; do not "compensate" by cranking the heat to high for the last hour; this only toughens the exterior while leaving the interior under-rendered.
THE VISUAL SPECTRUM
Section C: Thermal & Visual Troubleshooting:
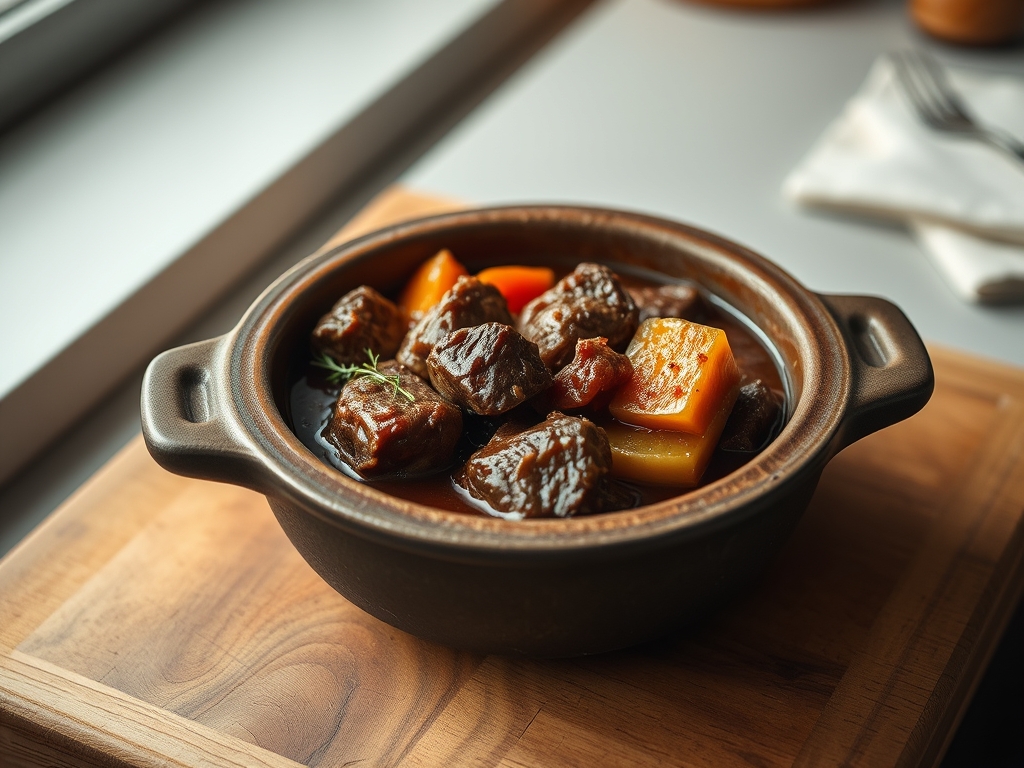
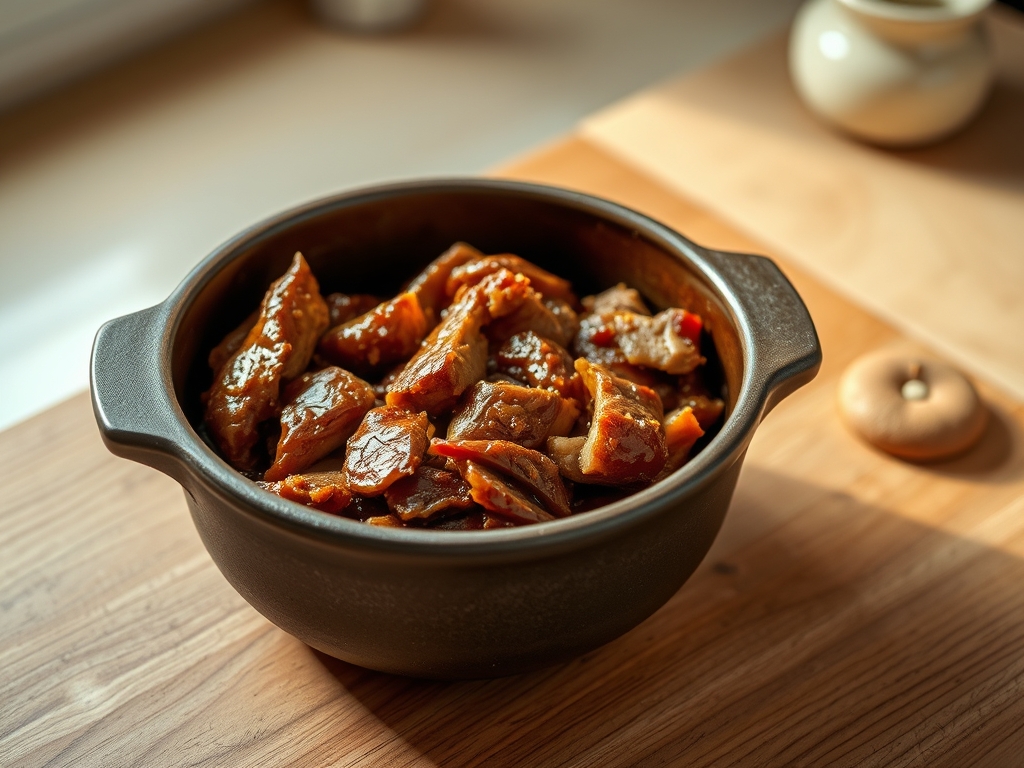
Referencing the Masterclass photo above; notice the chromatic depth of the sauce. If your sauce looks pale or "milky;" you failed to sear the meat long enough or skipped the tomato paste oxidation step. If the carrots look dull and grey; they have been over-extracted; next time; add them 3 hours into the cooking cycle. The meat should show distinct "pull" lines where the connective tissue has dissolved. If the meat looks "shiny" and rubbery; the collagen hasn't broken down yet; give it another 60 minutes. A perfect roast should have a matte finish on the fiber with a glossy sheen from the surrounding reduction.
THE DEEP DIVE
Macro Nutrition Profile
Per serving (approx 300g): 420 Calories | 38g Protein | 22g Fat | 18g Carbohydrates. This is a protein-dense powerhouse with a significant micronutrient load from the root vegetables.
Dietary Swaps
- Keto: Replace potatoes with radishes or cauliflower florets (add cauliflower in the last 90 minutes). Use a xanthan gum pinch instead of cornstarch.
- Vegan: This protocol is optimized for beef; but for a plant-based audit; use "Lion's Mane" mushrooms and a rich mushroom-miso broth.
- GF: Ensure your Worcestershire sauce is certified gluten-free; as some brands use barley malt vinegar.
Meal Prep & Reheating Science
To maintain molecular structure; do not microwave on high. The rapid excitation of water molecules will turn the beef into leather. Reheat in a covered dish at 300 degrees Fahrenheit with a splash of broth to maintain vapor pressure and prevent desiccation.
THE KITCHEN TABLE
Why is my roast tough after 8 hours?
You likely used a cut with insufficient connective tissue or the "Low" setting on your specific cooker isn't reaching the 190-degree Fahrenheit threshold required for collagen breakdown. Audit your device temperature with a probe.
Can I skip the searing step?
You can; but you are choosing flavor bankruptcy. Searing creates the chemical foundation for the entire sauce profile. Without it; you are merely boiling beef in a ceramic pot.
Should I add wine to the liquid?
Absolutely. A dry red (Cabernet or Merlot) adds acidity and tannins that help break down protein structures. Replace 125ml of broth with your wine of choice during the deglazing phase.
How do I fix a salty sauce?
Do not add water; it dilutes the body. Instead; add a teaspoon of honey or brown sugar to balance the salinity; or a splash of heavy cream to coat the palate and mask the salt.