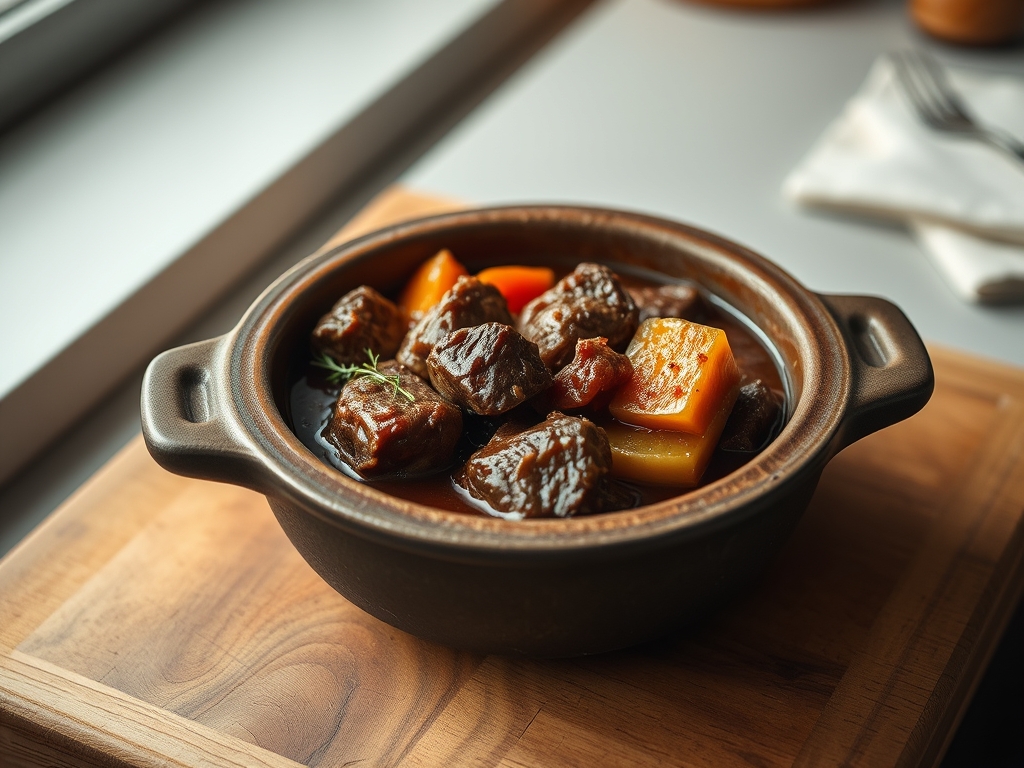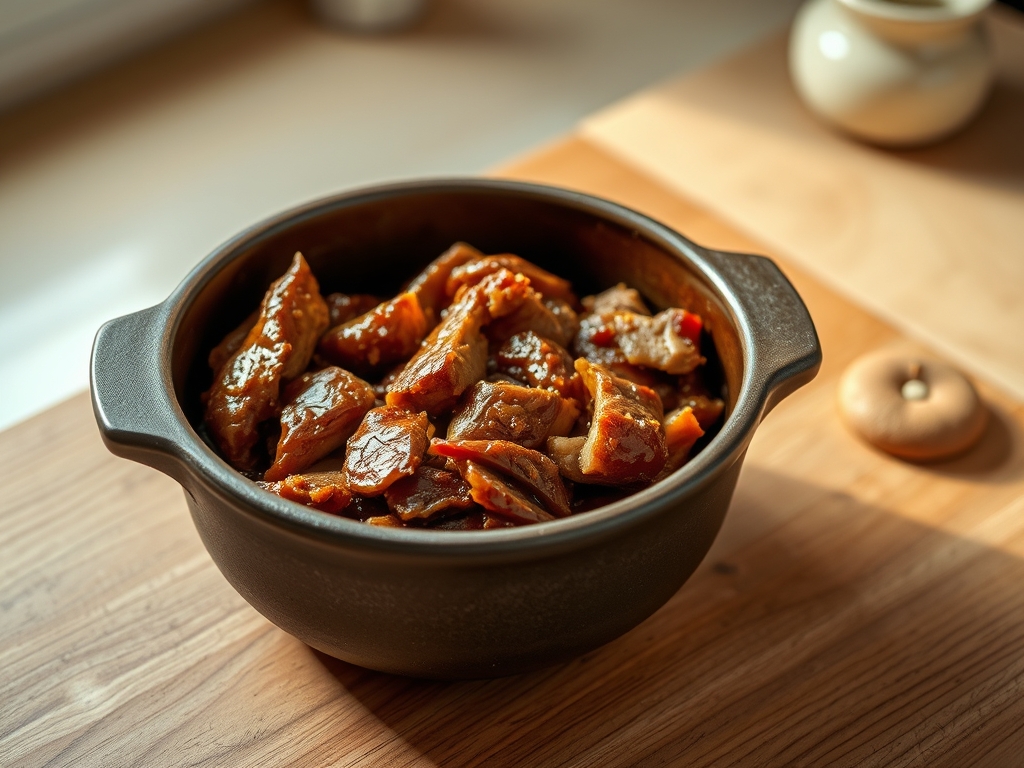
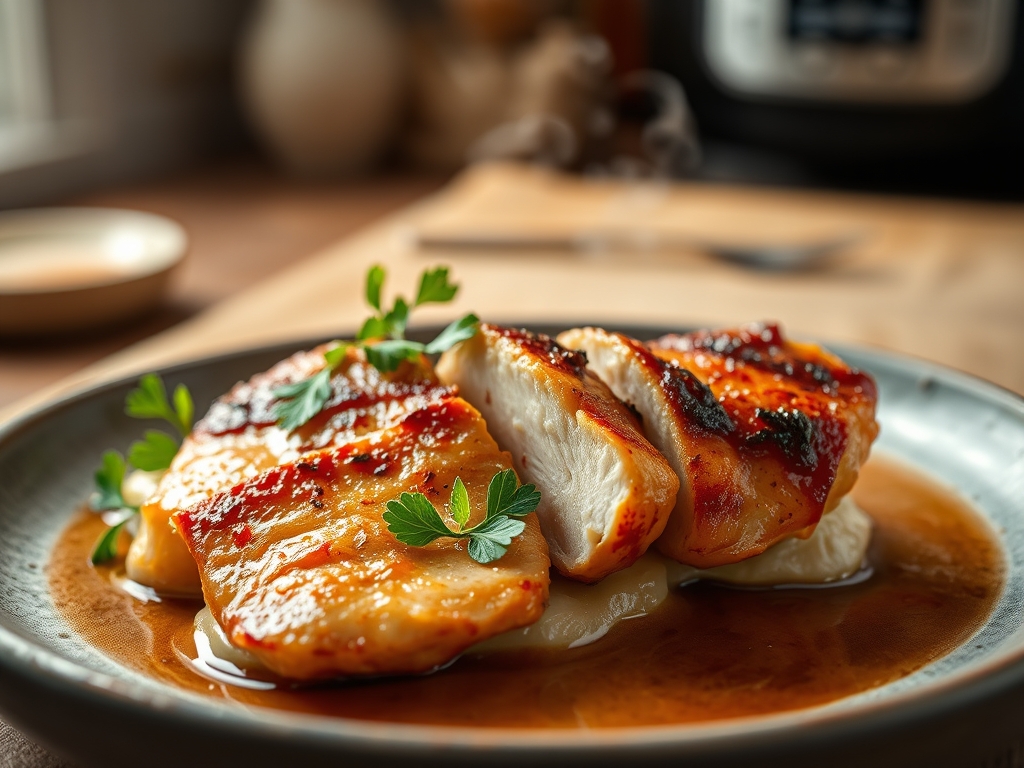
Forget the rubbery, desolate slabs of poultry that haunt the nightmares of every meal prepper. We are here to dismantle the mediocrity of the standard stovetop boil and replace it with a high-pressure masterpiece. When you deploy the Instant Pot Chicken Breast protocol, you are not merely cooking; you are conducting a masterclass in moisture retention and cellular integrity. The pressurized environment forces steam into the protein fibers, preventing the moisture loss that plagues traditional dry-heat methods. Imagine a texture so supple it yields to the slightest pressure of a fork, yet remains structurally sound enough for a clean, professional dice. The aroma is a concentrated blast of savory aromatics, where every milligram of seasoning has been driven deep into the tissue by atmospheric force. This is the gold standard of protein efficiency. We are optimizing for speed, flavor, and macro-nutritional density. Prepare to audit your current kitchen workflow, because once you master this technical execution, there is no going back to the dry, fibrous ruins of the past.
THE DATA MATRIX
| Metric | Specification |
|---|---|
| Prep Time | 5 Minutes |
| Execution Time | 25 Minutes (Including Pressurization) |
| Yield | 4 Servings |
| Complexity | 2 / 10 |
| Estimated Cost per Serving | $1.85 USD |
THE GATHERS
Ingredient Protocol:
- 680g / 1.5 lbs Boneless Skinless Chicken Breasts
- 250ml / 1 cup Low-Sodium Chicken Stock
- 15ml / 1 tbsp Extra Virgin Olive Oil
- 5g / 1 tsp Smoked Paprika
- 3g / 0.5 tsp Garlic Powder
- 3g / 0.5 tsp Onion Powder
- 2g / 0.25 tsp Cracked Black Pepper
- 5g / 1 tsp Kosher Salt
Section A: Ingredient Quality Audit:
Sub-par raw materials will compromise the final structural integrity of your Instant Pot Chicken Breast. If your poultry exhibits "woody breast" syndrome (a textural defect characterized by hard, pale, and inelastic muscle fibers), no amount of pressure will soften it. Audit your source; seek out air-chilled poultry to avoid the excess water weight found in "pumped" supermarket brands. If your stock lacks depth, it will fail to infuse the meat with the necessary umami. The technical fix for a weak broth is a quick reduction in a saucier before it enters the pressure vessel, or the addition of a single dried shiitake mushroom to boost the glutamic acid profile.
THE MASTERCLASS
1. The Surface Calibration
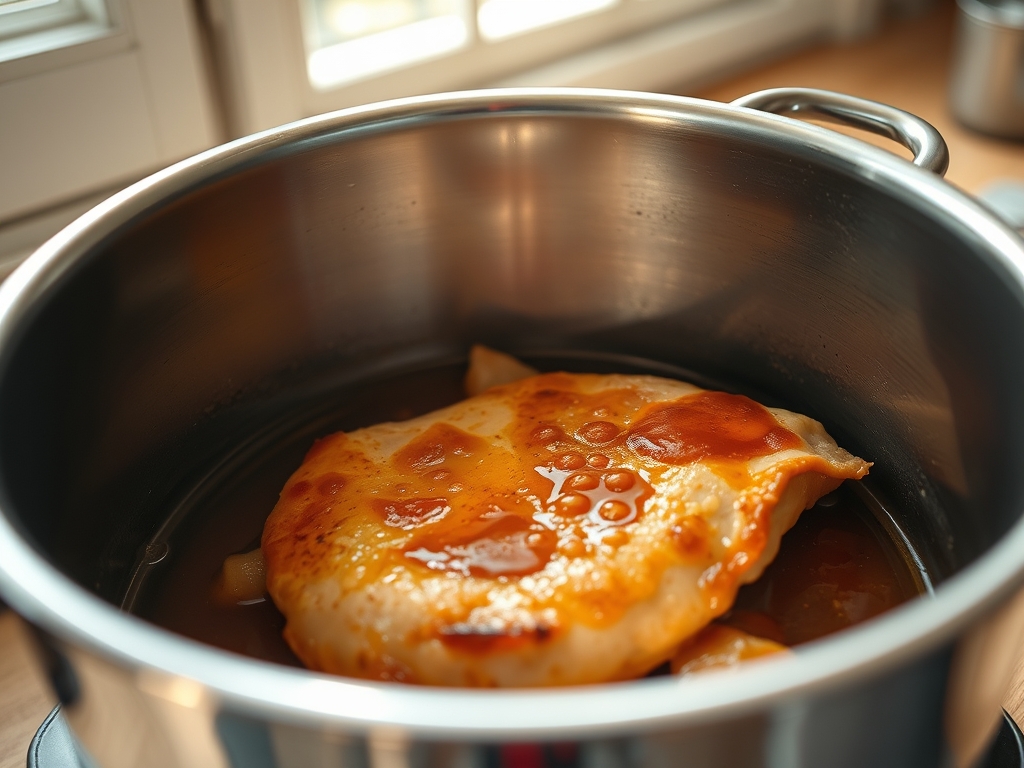
Pat the poultry dry using lint-free towels to ensure the seasoning adheres to the protein rather than sliding off in a watery film. Place the breasts on a clean workstation and apply the dry rub evenly across all surfaces. Use a digital scale to ensure your salt-to-protein ratio is precise; consistency is the hallmark of the professional auditor.
Pro Tip: This step utilizes the principle of surface tension. By removing surface moisture, you allow the oils and spices to form a viscous coating that stays intact during the initial steam phase.
2. The Liquid Foundation
Pour the 250ml of stock into the inner stainless steel pot. Use a bench scraper to clear any stray spice particles from your prep area into the liquid to ensure zero waste. Place the wire trivet into the pot; this is essential to prevent the meat from sitting in direct contact with the heating element, which can cause localized overcooking.
Pro Tip: Elevating the meat on a trivet allows for 360-degree steam circulation. This ensures the thermal energy is distributed via convection rather than conduction, leading to a more uniform cellular breakdown.
3. Atmospheric Pressurization
Secure the lid and set the valve to the "sealing" position. Program the unit for 8 minutes at High Pressure. While the unit builds pressure, the internal temperature will rise, beginning the process of protein denaturation before the timer even starts.
Pro Tip: The "time to pressure" is a critical phase. A professional chef uses this window to deglaze any other pans or prepare a piquant sauce to accompany the final product.
4. The Controlled Release
Once the timer expires, allow for a 10-minute natural pressure release. This prevents the "thermal shock" that occurs when pressure is dropped instantly, which can cause the muscle fibers to seize and expel their internal juices. After 10 minutes, manually vent the remaining steam.
Pro Tip: Use a digital probe thermometer to verify an internal temperature of 165F (74C). This is the thermodynamic "sweet spot" where safety meets maximum succulence.
Section B: Prep & Timing Fault-Lines:
The most common human error in this protocol is the "Quick Release" trap. If you vent the steam immediately, the rapid drop in pressure causes the moisture inside the chicken to boil violently, rupturing the cell walls and leaving you with a dry, stringy mess. If your chicken is still pink after the cycle, your "breasts" were likely oversized. Audit the weight; if a single breast exceeds 250g, you must increase the pressure time by 2 minutes to account for the increased thermal mass.
THE VISUAL SPECTRUM
Section C: Thermal & Visual Troubleshooting:
Review the Masterclass photo above. Note the glistening surface and the absence of gray, chalky edges. If your Instant Pot Chicken Breast looks dull or "washed out," you likely skipped the dry rub or used too much liquid. A vibrant, orange-hued surface indicates the paprika has properly hydrated. If the meat appears shredded or ragged, your knife skills are the bottleneck; always slice against the grain using a freshly honed carving knife to maintain the visual integrity of the muscle bundles. For a more render-focused finish, you can briefly sear the breasts in the pot using the "Sauté" function before adding the liquid, though this adds a layer of complexity to the audit.
THE DEEP DIVE
Macro Nutrition Profile:
A standard 140g serving of this protocol yields approximately 230 calories, 3g of fat, 0g of carbohydrates, and 48g of high-quality protein. It is the ultimate tool for body composition manipulation.
Dietary Swaps:
- Vegan: Substitute the chicken with extra-firm tofu blocks (pressed for 30 minutes) and use vegetable bouillon. Reduce pressure time to 3 minutes.
- Keto: Replace the stock with a mixture of water and 30g of grass-fed butter to increase the lipid profile.
- GF: This protocol is naturally gluten-free; ensure your chicken stock is certified to avoid hidden thickeners.
Meal Prep & Reheating Science:
To maintain molecular structure during storage, slice the chicken only when ready to serve. If reheating, do so in a sealed container with a tablespoon of the leftover cooking liquid. This creates a micro-steam environment that prevents the protein from becoming viscous or tough in the microwave.
THE KITCHEN TABLE
Why is my chicken rubbery?
Rubbery texture is usually a sign of overcooking or using "woody" chicken. Ensure you are using the natural release method for at least 10 minutes to allow the fibers to relax and reabsorb moisture.
Can I cook frozen chicken breasts?
Yes. Increase the high-pressure timer to 12-15 minutes depending on thickness. Ensure the breasts are not frozen together in a solid block, as this prevents even heat distribution through the center of the mass.
Do I need to sear the meat first?
Searing is optional for this specific audit. While it adds a Maillard reaction crust, the primary goal here is poaching efficiency. Searing can sometimes toughen the outer layer in a high-pressure environment.
How much liquid is actually necessary?
The 250ml / 1 cup rule is standard for most 6-quart units to ensure the pot can aerate and build sufficient pressure without triggering the "burn" notice. Never go below the manufacturer's minimum liquid requirement.