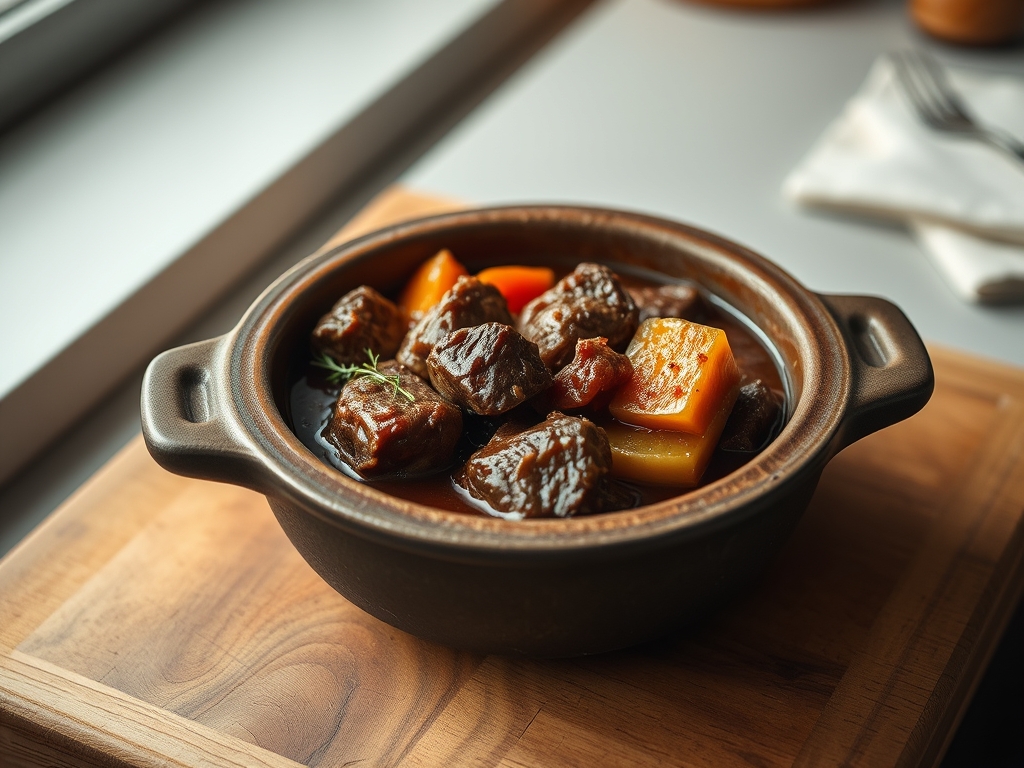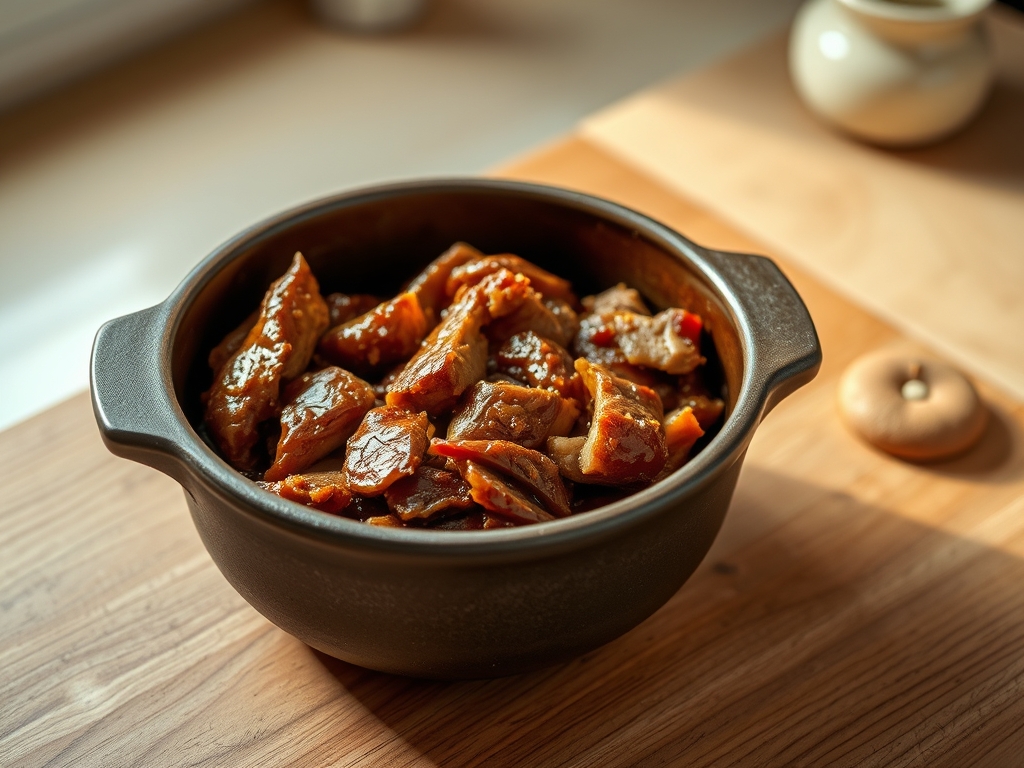
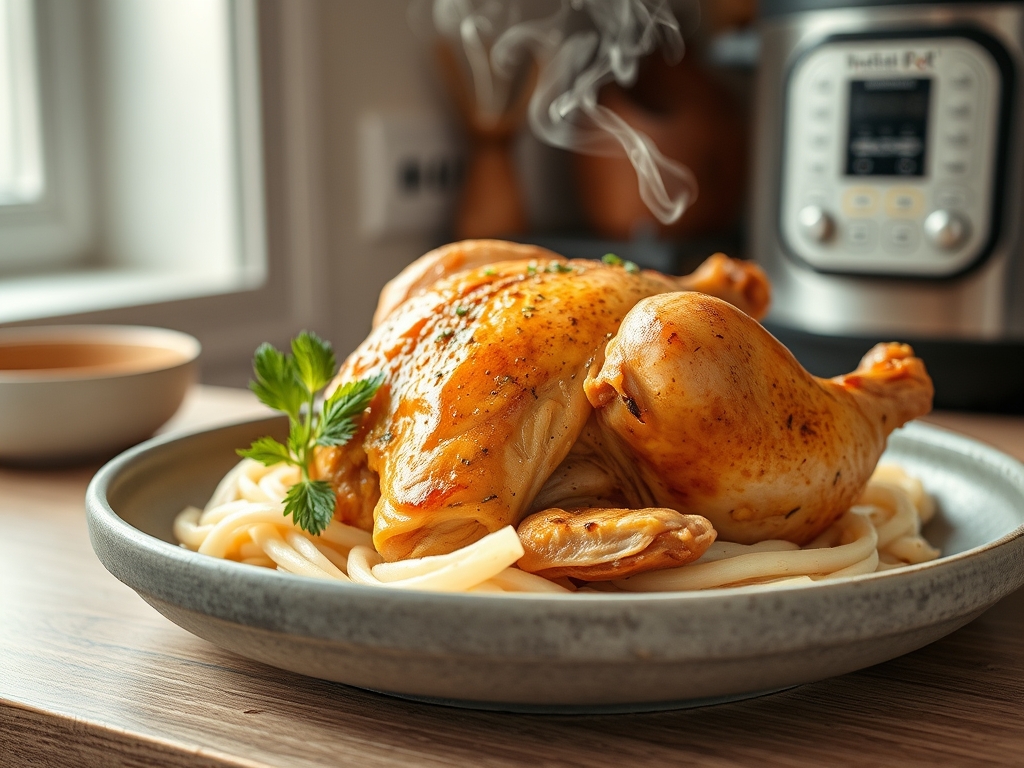
Listen up, kitchen architects and culinary engineers. We are not merely preparing dinner; we are managing a high-pressure structural transformation of biological matter. The Instant Pot Whole Chicken is the ultimate stress test for your countertop infrastructure. Imagine a four-pound avian chassis subjected to intense atmospheric pressure, where steam molecules are forced into connective tissue at high velocity. We are seeking the holy grail of poultry: a bird that retains its structural integrity while surrendering its collagen to the gods of succulence. When that lid seals, you are initiating a thermal event that bypasses the traditional dry-heat limitations of a standard oven. You want skin that glistens, meat that falls away with a mere suggestion from a fork, and a concentrated jus that vibrates with umami. This is about precision, timing, and the physics of moisture retention. Forget the dry, stringy disasters of Sunday roasts past. We are building a masterpiece of pressurized gastronomy that will redefine your expectations of what a domestic pressure vessel can achieve in under an hour.
THE DATA MATRIX
| Metric | Specification |
|---|---|
| Prep Time | 15 Minutes |
| Execution Time | 45 Minutes (Inc. Natural Release) |
| Yield | 4-6 Servings |
| Complexity | 4/10 |
| Estimated Cost per Serving | $2.50 – $3.50 USD |
THE GATHERS
Ingredient Protocol:
- 1 Whole Chicken (approx. 1.8kg / 4 lbs)
- 30ml / 2 tbsp Extra Virgin Olive Oil
- 15g / 1 tbsp Kosher Salt
- 5g / 1 tsp Smoked Paprika
- 5g / 1 tsp Garlic Powder
- 2.5g / 0.5 tsp Black Pepper
- 250ml / 1 cup Chicken Bone Broth
- 3 Large Garlic Cloves (smashed)
- 2 Sprigs Fresh Rosemary
- 1 Lemon (halved)
Section A: Ingredient Quality Audit:
If your bird is "woody" or excessively water-chilled, the cellular walls will collapse into a mushy mess under pressure. Always opt for air-chilled poultry to ensure the muscle fibers remain firm. If you find your spices have lost their aromatic punch, do not simply add more. Instead, bloom them in a small saucier with a teaspoon of oil before applying the rub. This heat-induced extraction releases fat-soluble flavor compounds that would otherwise remain dormant. If your broth tastes like salt water, fortify it with a teaspoon of tomato paste to add depth and body to the final deglaze.
THE MASTERCLASS
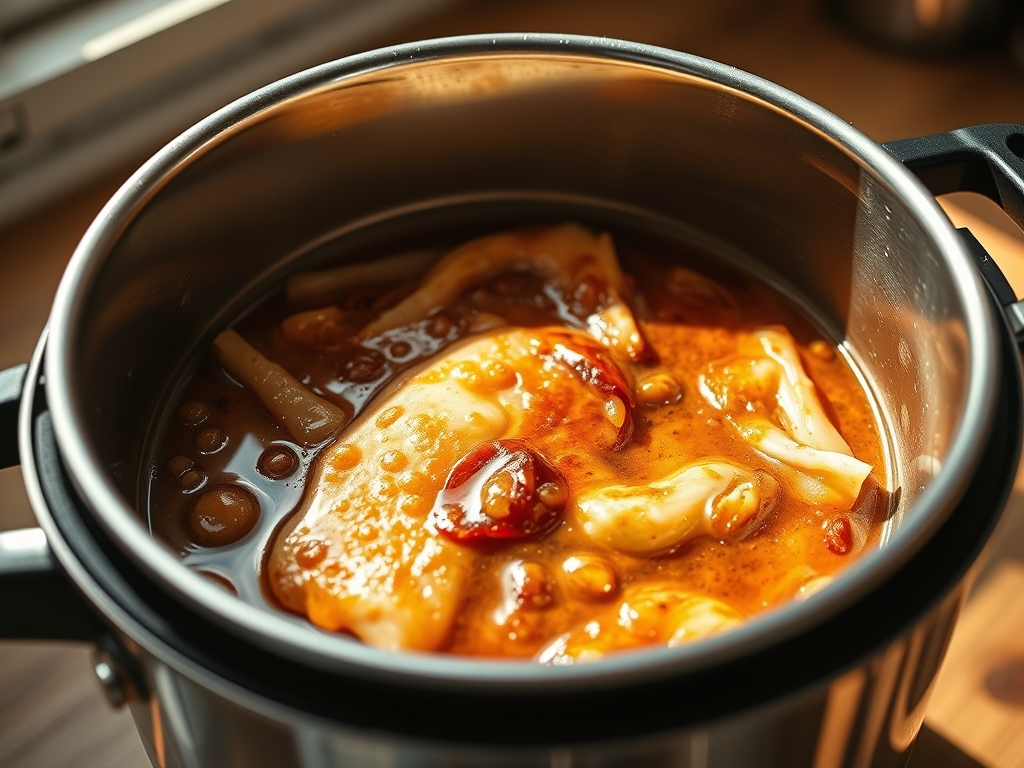
1. Surface Dehydration and Seasoning
Pat the chicken bone-dry using lint-free towels. Moisture is the enemy of the Maillard reaction. Use a digital scale to measure your dry rub components precisely, ensuring a balanced salinity profile. Liberally coat the exterior and the cavity.
Pro Tip: Dehydrating the skin surface allows the oil to create a more effective thermal bridge. This ensures that when you sear, the heat transfers instantly to render the subcutaneous fat rather than steaming the skin.
2. The High-Heat Sear
Set your vessel to the highest sauté setting. Add oil and wait for the shimmering point. Carefully place the breast-side down. Use a bench scraper to gently lift and check for golden-brown development without tearing the skin.
Pro Tip: Searing before pressure cooking creates a foundation of complex sugars and amino acids. This chemical foundation will infuse the cooking liquid, resulting in a superior sauce later.
3. Structural Loading and Pressurization
Remove the chicken and place the trivet in the pot. Pour in the broth and use a wooden spoon to deglaze the brown bits (fond) from the bottom. Place the chicken on the trivet, breast-side up. Insert the lemon and rosemary into the cavity for internal aromatics.
Pro Tip: The trivet is essential for structural integrity. If the bird sits directly in the liquid, the bottom will become waterlogged and lose its textural contrast. We want the chicken to be cooked by steam, not boiled.
4. Controlled Atmospheric Release
Seal the lid and set to High Pressure for 6 minutes per pound. Once the timer expires, allow a 15-minute natural pressure release. This prevents the rapid expansion of moisture within the muscle fibers, which would otherwise cause the juices to spray out upon opening.
Pro Tip: A natural release allows the internal temperature to stabilize. This is the "resting" phase of pressure cooking; skipping it results in a dry bird, regardless of how much liquid is in the pot.
5. Final Crisp and Rest
For that magazine-quality finish, transfer the bird to a baking sheet and broil for 3 to 5 minutes. While the bird rests, switch the Instant Pot back to sauté to reduce the remaining liquid into a viscous gravy.
Pro Tip: Use a digital scale to measure out a small amount of cornstarch and cold water (a slurry) to whisk into the boiling liquid. This creates a glossy, professional-grade sauce that clings to the meat.
Section B: Prep & Timing Fault-Lines:
The most common failure is the "Rubber Skin Syndrome." This occurs when the sear is too brief or the pressure release is forced too quickly. If your chicken is still under-temp (check with a probe thermometer; it must hit 165F/74C), do not re-pressurize. Simply put the lid back on "Keep Warm" for 10 minutes. The residual heat will gently carry the bird to the finish line without toughening the proteins.
THE VISUAL SPECTRUM
Section C: Thermal & Visual Troubleshooting:
Look at the Masterclass photo above. Notice the deep mahogany hue and the way the skin has retracted slightly from the leg joints; this is the visual cue for a perfect render. If your bird looks pale or "gray," your sauté function wasn't hot enough, or you overcrowded the pot. If the skin is falling off in patches, you likely handled the bird too roughly during the transfer. Use a wide spatula and a pair of tongs to move the avian chassis as a single unit. If the liquid in the pot looks thin and translucent, it lacks the viscous quality of a proper reduction; continue boiling until it coats the back of a spoon.
THE DEEP DIVE
Macro Nutrition Profile:
A standard 4-ounce serving of this pressure-roasted chicken provides approximately 25g of protein, 8g of fat, and 0g of carbohydrates. By using the trivet, we ensure excess fat is rendered out into the liquid, allowing for a leaner protein profile while maintaining moisture.
Dietary Swaps:
- Vegan: Replace the chicken with a whole head of cauliflower. Reduce pressure time to 3 minutes.
- Keto: Ensure your rub contains no sugar or cornstarch. Use xanthan gum to thicken the sauce.
- GF: The recipe is naturally gluten-free; just ensure your broth is certified.
Meal Prep & Reheating Science:
To maintain the molecular structure during reheating, avoid the microwave. The high-frequency waves agitate water molecules too violently, leading to "rubbery" protein strands. Instead, reheat in a covered dish at 325F with a splash of the reserved jus to re-hydrate the fibers through gentle conduction.
THE KITCHEN TABLE
Why is my chicken falling apart?
You likely overshot the timing or used a bird that was too small. Stick to the 6-minutes-per-pound rule for a firm but tender structure. Larger birds handle the pressure better than Cornish hens.
Can I cook a frozen whole chicken?
Yes, but increase the pressure time to 10-12 minutes per pound. Note that you will lose the ability to sear the skin effectively, resulting in a less piquant flavor profile and softer skin texture.
What do I do with the leftover liquid?
That liquid is liquid gold. It is a concentrated stock enriched with gelatin from the bones. Strain it, chill it, and use it as a base for soups or to aerate a risotto with intense poultry flavor.
My chicken is dry despite the liquid. Why?
Dryness in a pressure cooker is almost always caused by a "Quick Release." The sudden drop in pressure causes the moisture inside the meat to boil instantly and escape as steam, leaving the fibers parched. Always natural release.