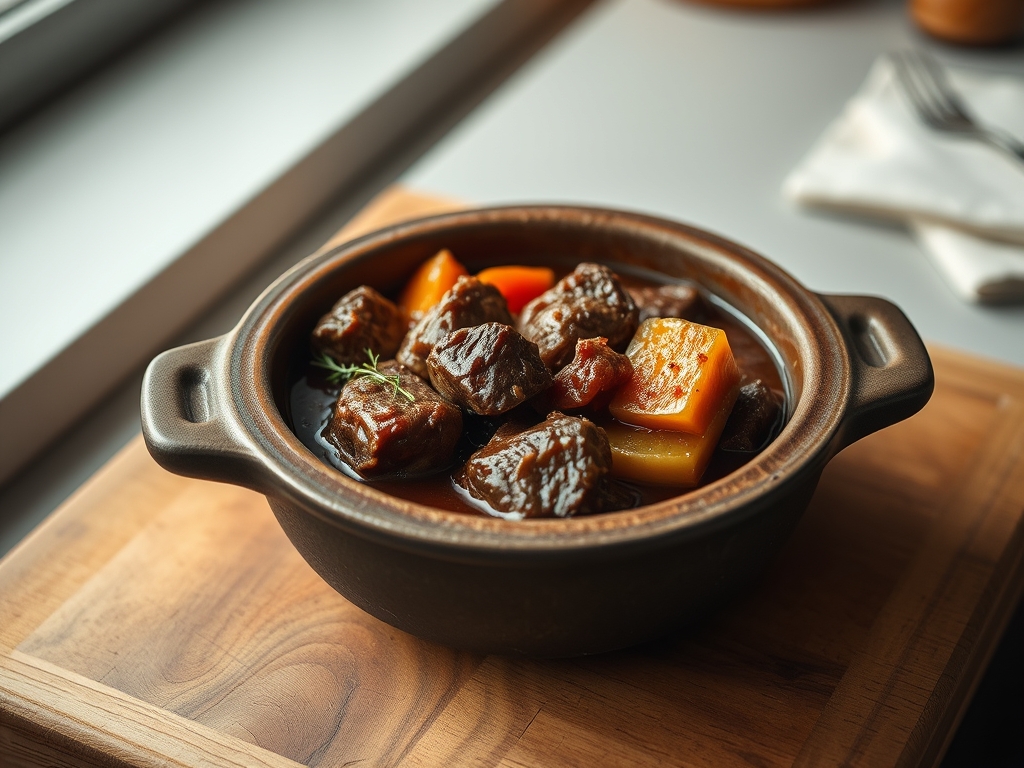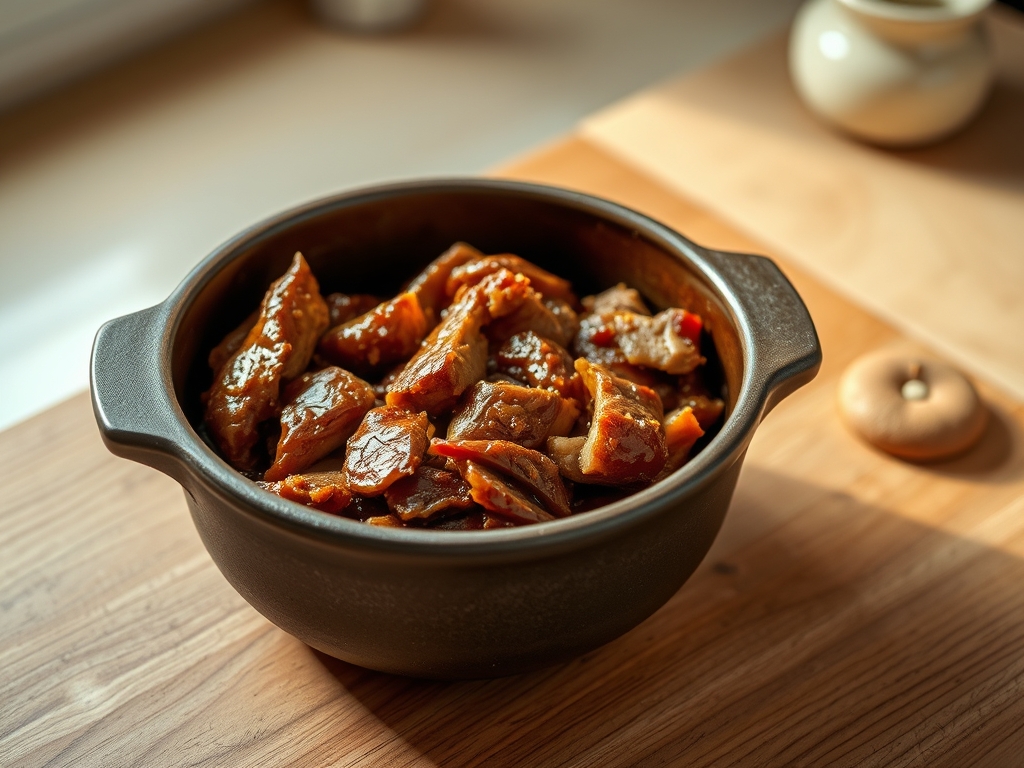
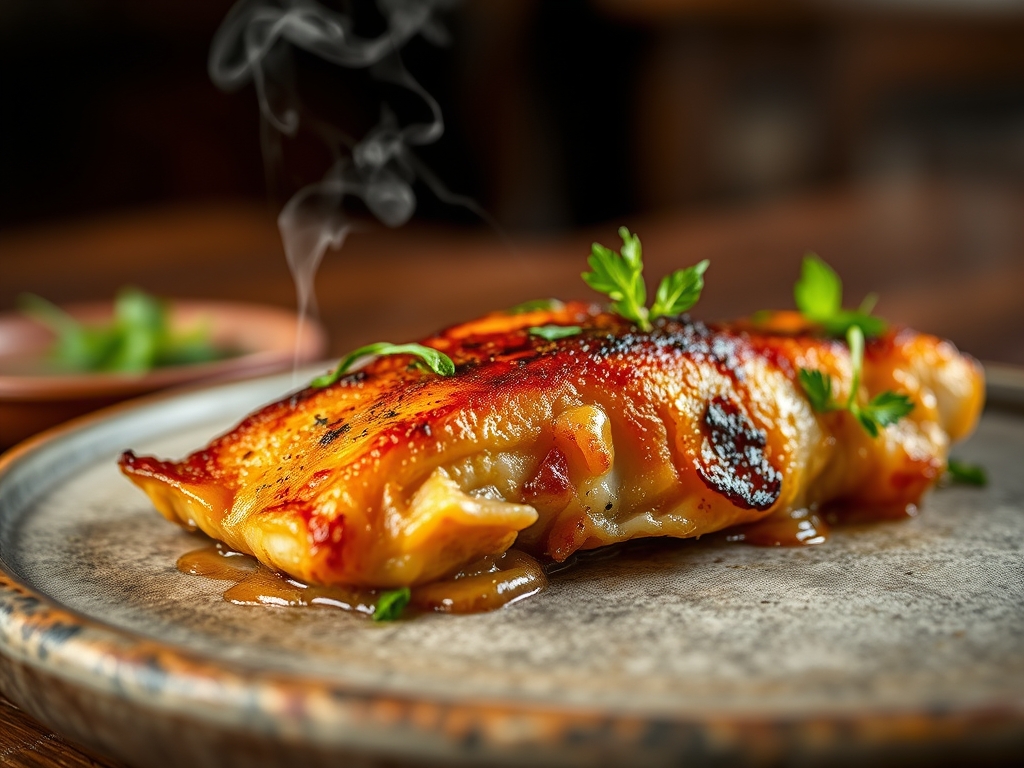
Listen closely because the buffet line is where dreams go to die and proteins go to wither. You have seen it: that grey, weeping slab of brisket or the chalky pork loin that shatters like drywall upon impact with a fork. This is the result of a catastrophic failure in managing Warm Protein Texture. When muscle fibers are held at sub-optimal temperatures, they undergo a process of myofibrillar tightening; a mechanical contraction that squeezes out precious intracellular moisture. It is a thermodynamic heist. To master the art of the warm hold, you must balance the delicate dance between collagen breakdown and moisture retention. We are not just cooking meat; we are engineering a stable biological matrix that can withstand the rigors of a two-hour service window without turning into leather. We are looking for that perfect, piquant crust and a succulent, viscous interior that defies the laws of evaporation. If you want to serve excellence, you must audit your infrastructure and respect the molecular reality of the heat lamp.
THE DATA MATRIX
| Metric | Specification |
|---|---|
| Prep Time | 45 Minutes |
| Execution Time | 3.5 Hours |
| Yield | 8 Servings |
| Complexity (1-10) | 7 |
| Estimated Cost per Serving | $6.50 |
THE GATHERS
Ingredient Protocol:
- 1.8kg / 4 lbs Beef Chuck Roast or Pork Shoulder (The "Substrate")
- 500ml / 2 cups Beef Bone Broth (High Gelatin Content)
- 60ml / 4 tbsp High-Smoke Point Oil (Avocado or Grapeseed)
- 15g / 1 tbsp Diamond Crystal Kosher Salt
- 5g / 1 tsp Freshly Cracked Black Peppercorns
- 30g / 2 tbsp Tomato Paste (For Umami Foundation)
- 250ml / 1 cup Dry Red Wine (To deglaze)
- 3 Large Yellow Onions (Thinly sliced for moisture buffering)
Section A: Ingredient Quality Audit:
If your raw protein shows signs of "purge" (excess liquid in the packaging), your Warm Protein Texture is compromised before you even light the burner. This indicates the cellular walls have already collapsed. Fix this by utilizing a dry-brine technique for at least 12 hours to restructure the proteins. If your bone broth lacks viscosity, it will not coat the meat during the hold. To fix a thin broth, whisk in 5g of unflavored gelatin per 250ml of liquid to mimic the mouthfeel of a long-term reduction.
THE MASTERCLASS
1. The Surface Dehydration Phase
Pat the protein bone-dry with industrial paper towels. Use a digital scale to measure your salt precisely; 1.5% of the meat's weight is the gold standard for deep seasoning. Rub the salt into the surface and let it air-dry in the refrigerator for one hour.
Pro Tip: This phase facilitates the Maillard reaction by removing surface moisture that would otherwise cause the meat to steam. Use a wire rack to ensure airflow around the entire cut, preventing a soggy "bottom" during the initial sear.
2. The Maillard Execution
Heat your heavy-bottomed stainless steel saucier or cast iron Dutch oven until the oil reaches the shimmering point. Sear the protein on all sides until a deep, mahogany crust forms. Do not crowd the pan; work in batches if necessary.
Pro Tip: Use a bench scraper to clear any burnt bits between batches. The crust provides a structural "shell" that helps maintain the Warm Protein Texture by creating a barrier against rapid moisture loss during the long hold.
3. The Deglaze and Infuse
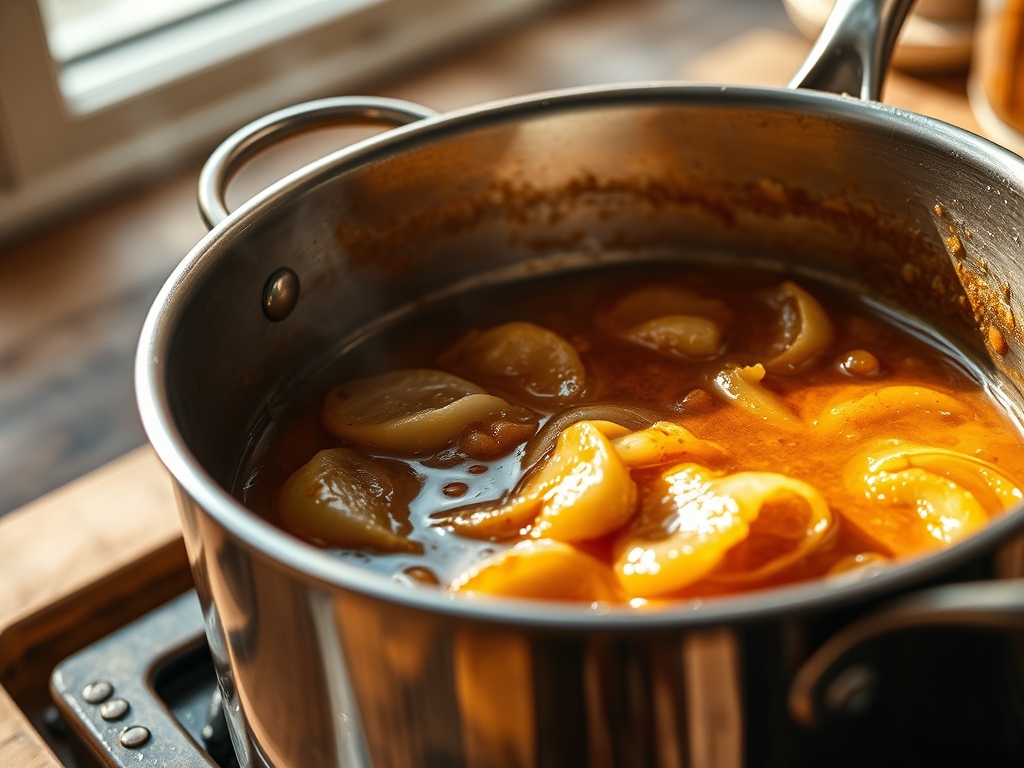
Remove the meat and discard excess fat, leaving two tablespoons. Add onions and sauté until translucent. Add tomato paste and cook until it turns a rusty brick color. Pour in the red wine to deglaze, scraping the bottom of the pan to incorporate the fond.
Pro Tip: The acidity in the wine helps break down tough connective tissues. Use a flat-edged wooden spatula to ensure every molecule of caramelized protein is integrated into the braising liquid for maximum piquant depth.
4. The Low-Impact Thermal Bath
Return the meat to the vessel and add the bone broth until it reaches halfway up the protein. Cover with a tight-fitting lid and place in a 135C / 275F oven. Cook until the internal temperature reaches 90C / 195F.
Pro Tip: Maintaining a low, steady temperature prevents the myofibrils from snapping shut. Use a dual-probe digital thermometer to monitor the ambient oven temp and the internal meat temp simultaneously; precision is your only defense against dryness.
5. The Holding Protocol
Once tender, transfer the meat to a pre-warmed holding tray. Strain the braising liquid and reduce it by half until it is thick and viscous. Pour the glaze over the meat and cover tightly with foil before placing it under a heat lamp or in a warming drawer set to 65C / 150F.
Pro Tip: Never slice the meat before the hold. Keeping the muscle fibers intact minimizes the surface area exposed to air, which is the primary cause of texture degradation. Slice only upon the moment of service.
Section B: Prep & Timing Fault-Lines:
The most common failure is the "Thermal Shock" error. If you move meat directly from a 200C oven to a room-temperature cutting board, the rapid cooling causes the fibers to contract violently. Always allow for a 20-minute rest in a warm environment (around 55C) before any mechanical intervention. If your timing is off and the meat finishes too early, do not leave the heat on. Turn off the source and use the residual heat of the Dutch oven to maintain temperature.
THE VISUAL SPECTRUM
Section C: Thermal & Visual Troubleshooting:
Look at the Masterclass photo above. Notice the "glisten" on the surface; this is the visual cue for a successful Warm Protein Texture. If your meat looks matte or "fibrous," it has dehydrated. To fix this, mist the protein with a 50/50 mixture of warm broth and apple cider vinegar. If the browning is uneven, it suggests your sear was too timid. Next time, ensure the oil is at least 200C before the meat makes contact. Dull colors can be revived by a final brush of the reduced glaze right before the plate hits the pass.
THE DEEP DIVE
Macro Nutrition Profile:
A standard 150g serving provides approximately 35g of protein, 18g of fat, and 4g of carbohydrates (primarily from the aromatics and wine reduction). The high collagen content provides a significant dose of glycine and proline.
Dietary Swaps:
- Vegan: Substitute the protein with thick-cut "steaks" of Lion's Mane mushroom. Use a mushroom-based dashi instead of bone broth to maintain the viscous mouthfeel.
- Keto: Ensure the wine is a very dry variety and eliminate the onions in favor of leeks to reduce the net carb count.
- GF: This protocol is naturally gluten-free; just ensure your bone broth is not thickened with flour-based roux.
Meal Prep & Reheating Science:
To maintain the molecular structure during reheating, avoid the microwave. The high-frequency waves agitate water molecules too quickly, causing the protein to toughen. Instead, reheat in a vacuum-sealed bag in a 70C water bath (sous vide) or in a covered dish with a splash of broth at 120C until warmed through.
THE KITCHEN TABLE
Why does my beef turn grey under the heat lamp?
This is oxidation. To prevent it, ensure the meat is fully coated in a viscous glaze or fat. This creates an oxygen barrier that preserves the vibrant, appetizing color of the Warm Protein Texture.
Can I use a slow cooker for this?
You can, but you lose the precision of a dry-heat sear and the controlled reduction of the sauce. If you must use one, sear the meat in a separate pan first to develop the Maillard complexity.
How long can I safely hold protein warm?
Technically, you can hold it indefinitely at 60C / 140F from a safety standpoint. However, for peak quality, four hours is the limit before the fibers begin to lose their structural integrity and turn mushy.
What is the best tool for slicing warm held meat?
A long, scalloped slicing knife is superior to a chef's knife. The scallops create air pockets that prevent the meat from sticking to the blade, ensuring clean slices that do not tear the delicate, warm fibers.